How To Install NordVPN On Windows 10
If you want to install NordVPN on your Windows 10 computer so that anytime you use the internet on your computer it will go through NordVPN, this is the article for you. Because that’s exactly what I’m going to show you how to do.
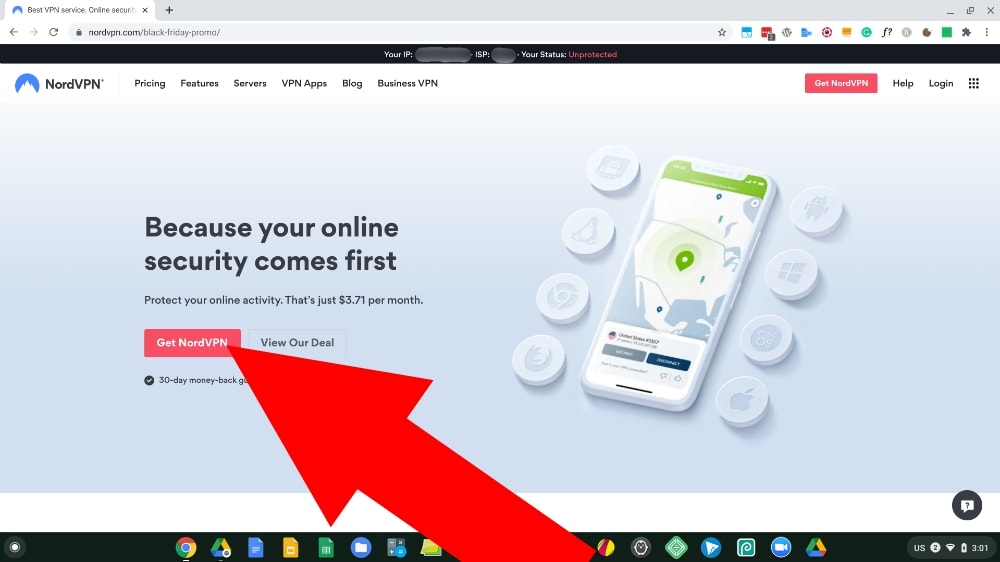
But before we can get into installing it, you’ll first need to sign up to NordVPN if you haven’t already. If you already have an account, you can just skip this step, but if you don’t, you’ll need to go to the NordVPN website, click “Get NordVPN” and follow the prompts to finish creating your account.
Click here to read the results of my extensive tests of NordVPN and find out just how fast it is!
Once you’ve created your account (and saved your password), you’ll be ready to begin installing it.
How To Install NordVPN On Windows
Table of Contents
To begin installing NordVPN, the first thing you’ll need to do is download it from their website. To do that, just go to https://nordvpn.com/download/ and click the “Download” button.
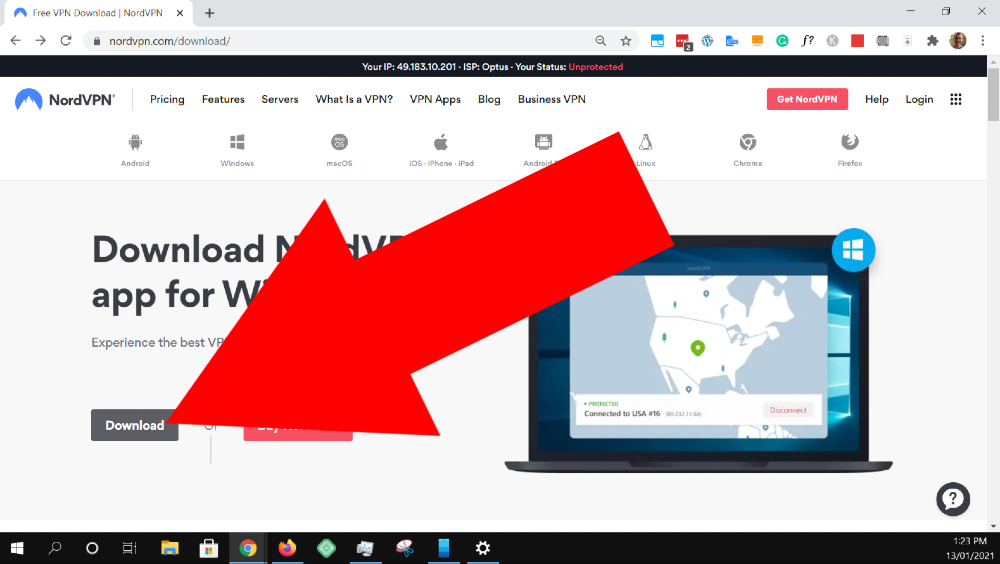
The website should automatically detect that you’re using a Windows computer, so when you click download it should begin downloading the Windows version of the app to your computer.
But if for some reason it doesn’t detect it correctly, you can always click on “Windows” in the menu at the top of the page to download the correct version.
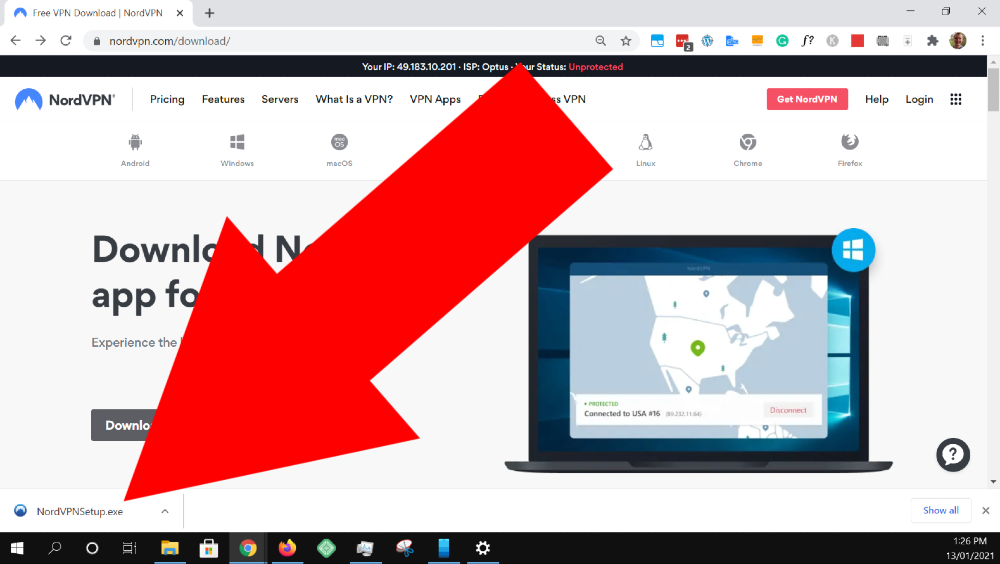
Once the .exe has finished downloading, you’ll need to open it to begin the installation process, I downloaded it using Google Chrome so I can open it by clicking on it at the bottom of the screen.
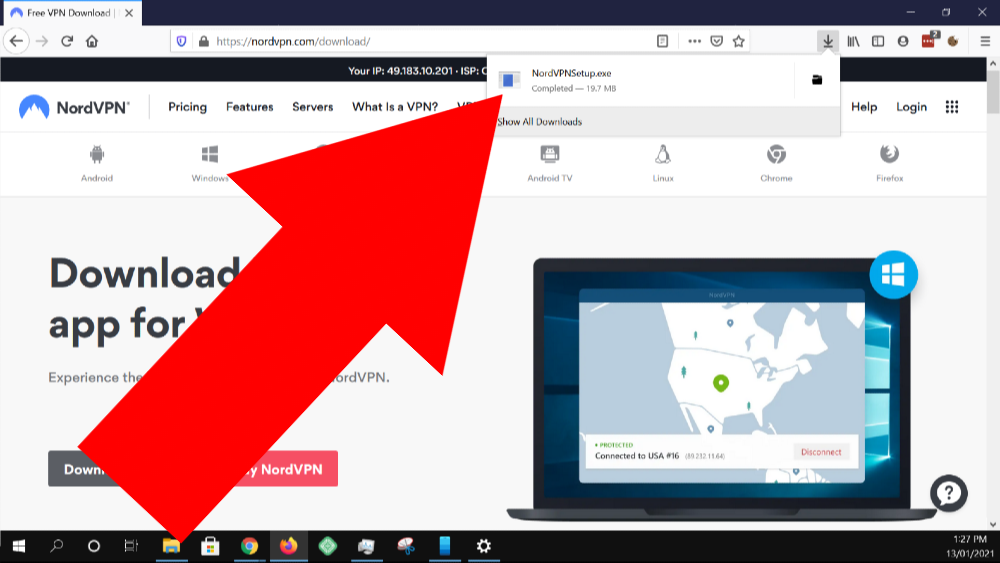
But if you’re using Firefox or a different browser, you might find it in the top right-hand corner instead.
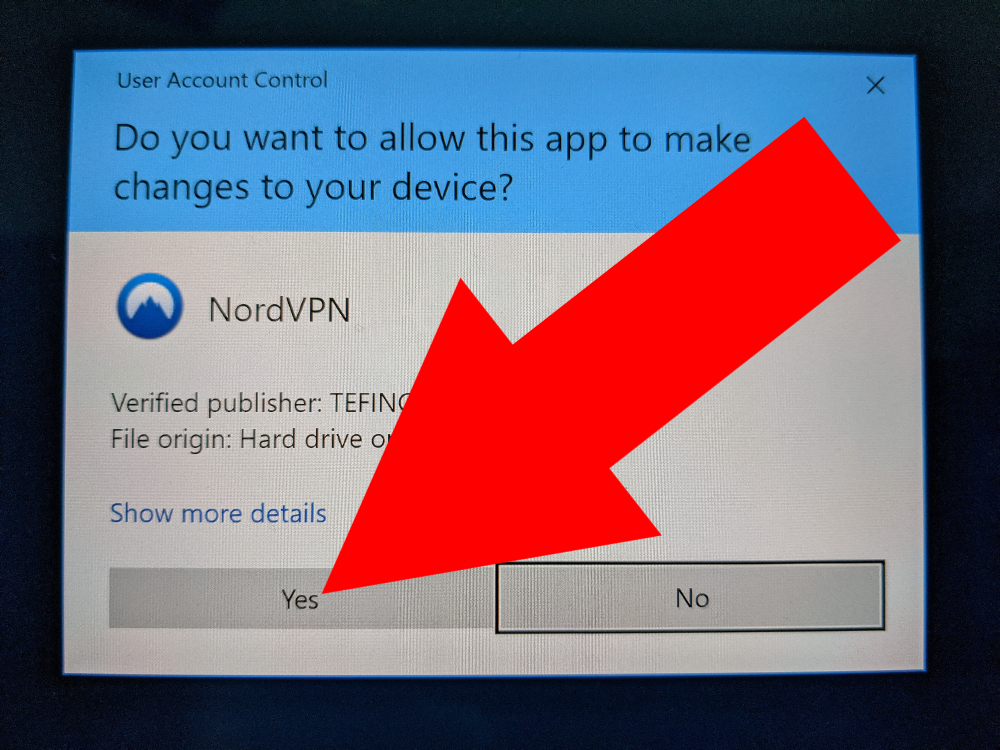
But regardless of where you have to click on it, just open it up and you will see a warning message asking if you want to allow the app to make changes to your device. This is a standard warning that appears whenever you install an app in Windows so just go ahead and click “Yes”.
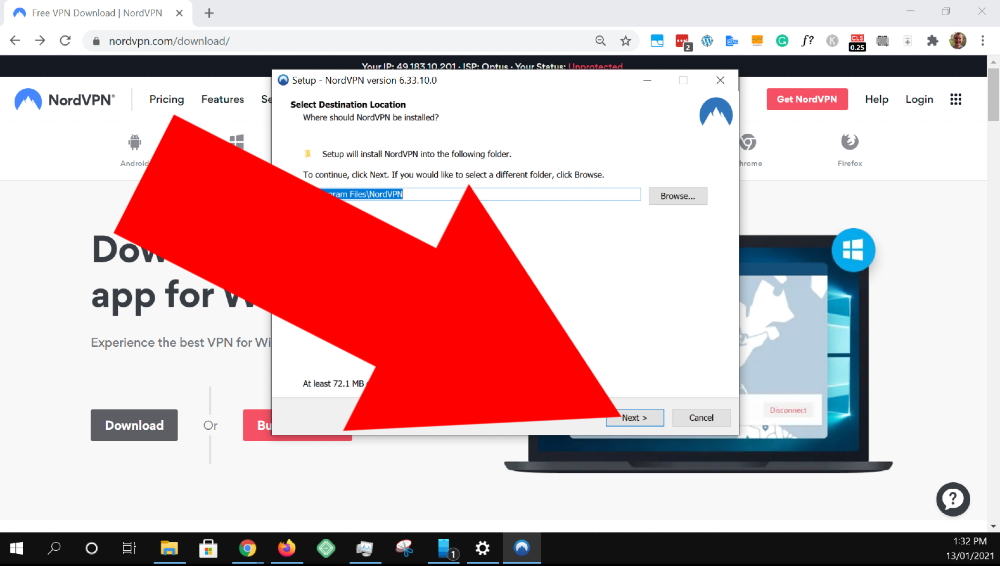
Then it will ask you where you want NordVPN to be installed. The default location is really the ideal spot for it, so just click “Next” to move on to the next step.
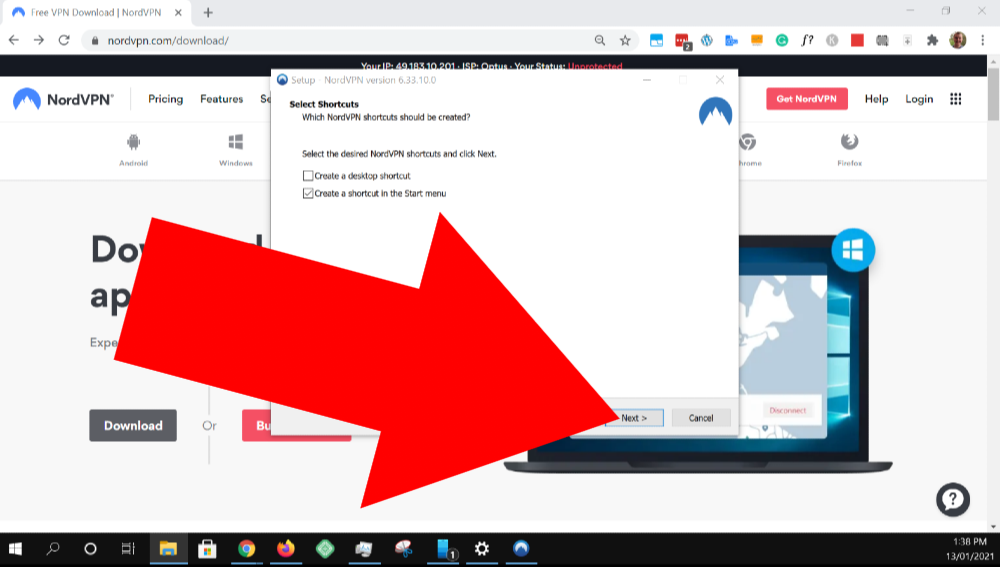
Then it will ask you whether you want to add any shortcuts to open the app. It’s really up to you to choose what you’d prefer, but I’m going to choose to create a shortcut in the Start menu, but not on the desktop.
Don’t worry too much about what you choose here, as you can always add or remove shortcuts at any time in the future if you change your mind. And then once you’re happy with your choice, click “Next” to proceed.
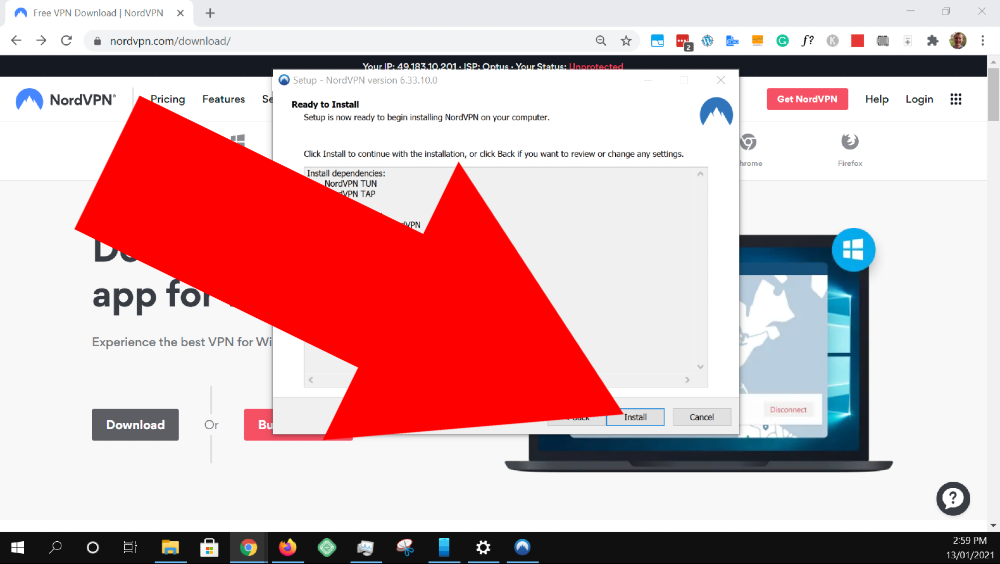
Now it will give you a rundown of all the choices you just made, and as long as you’re happy with it all, you can go ahead and click “Install” to begin installing the app.
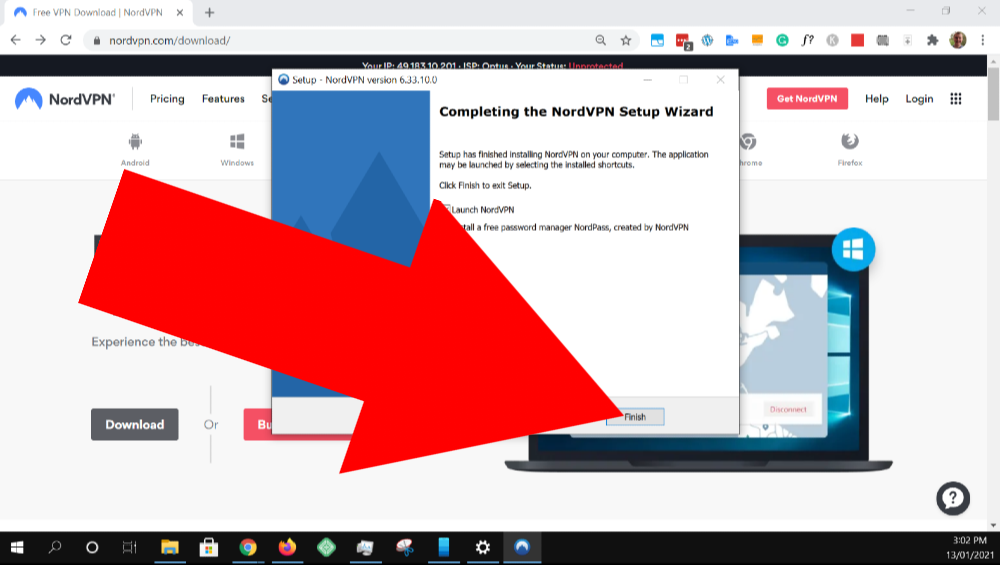
It will then take no more than a few minutes to install the app, and once it’s done, you will be greeted with a message letting you know it’s finished. Now you can launch the app by clicking the “Finish” button.
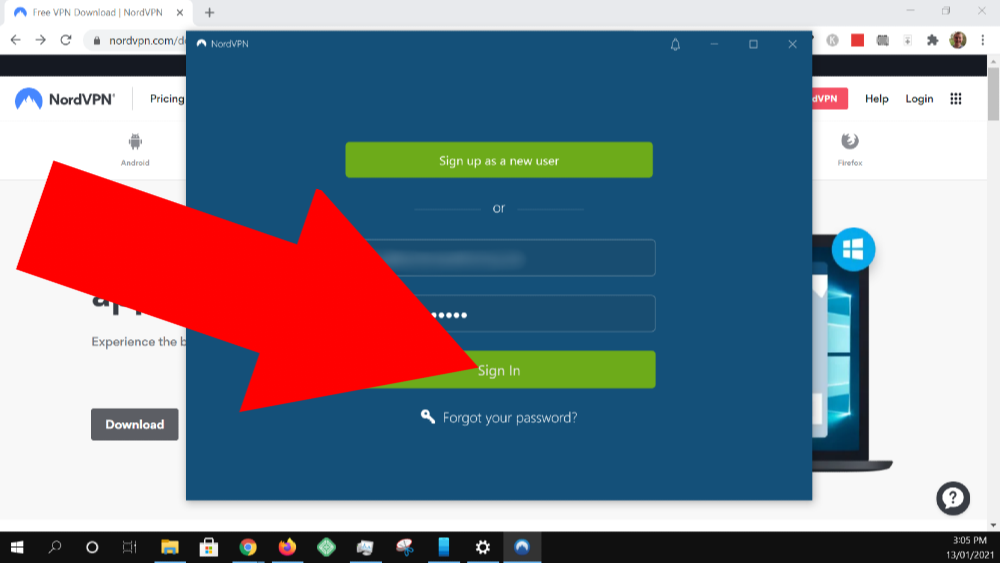
The app will now open and you will be greeted with a login screen. Just enter the email address and password you used when you created your account earlier and then click “Sign In”.
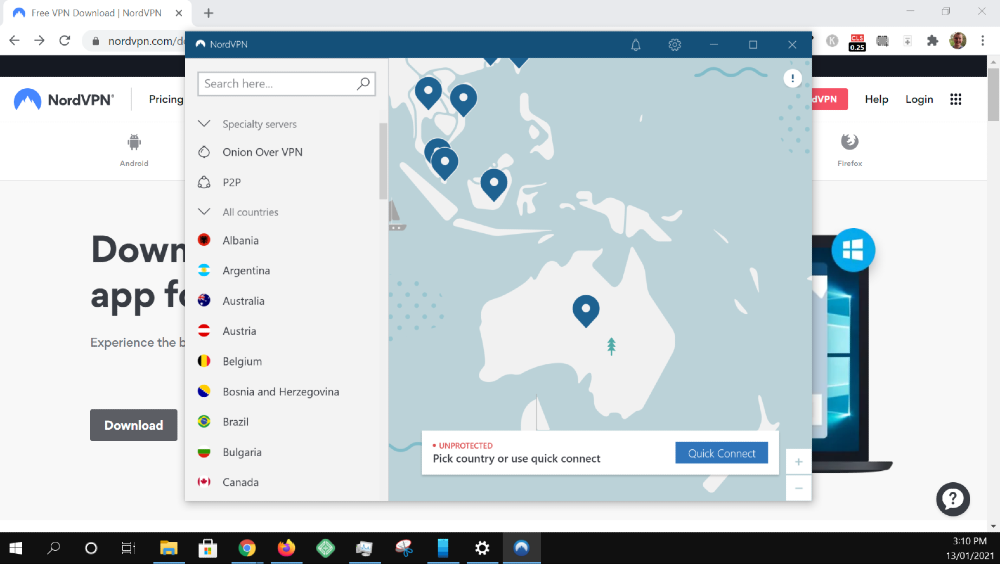
And that’s it, you did it! Now the app is all set up and ready to go!
How To Use NordVPN On Windows 10
Now that you’ve installed NordVPN, you’ll want to connect to a server so that all your internet usage goes through the VPN.
If you just want to connect to the VPN server that is geographically closest to you so that you can browse the web privately and securely while still having a connection that is as fast as possible, just click on “Quick Connect” and you will automatically be connected to the best available server.
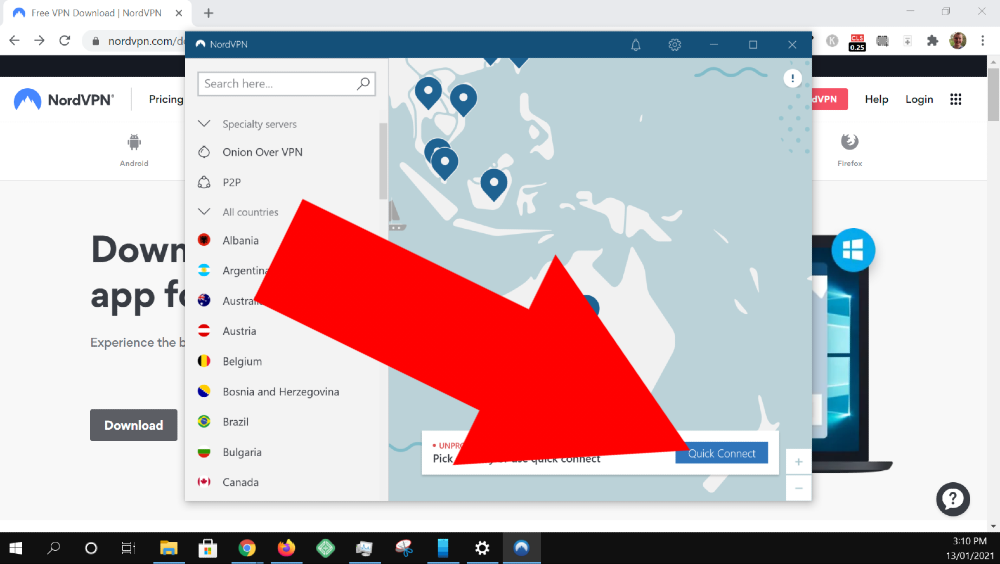
Now you can close the app and anything you do online will go through NordVPN.
Then, whenever you want to disconnect from the VPN, just go back into the app and click on the “Disconnect” button.
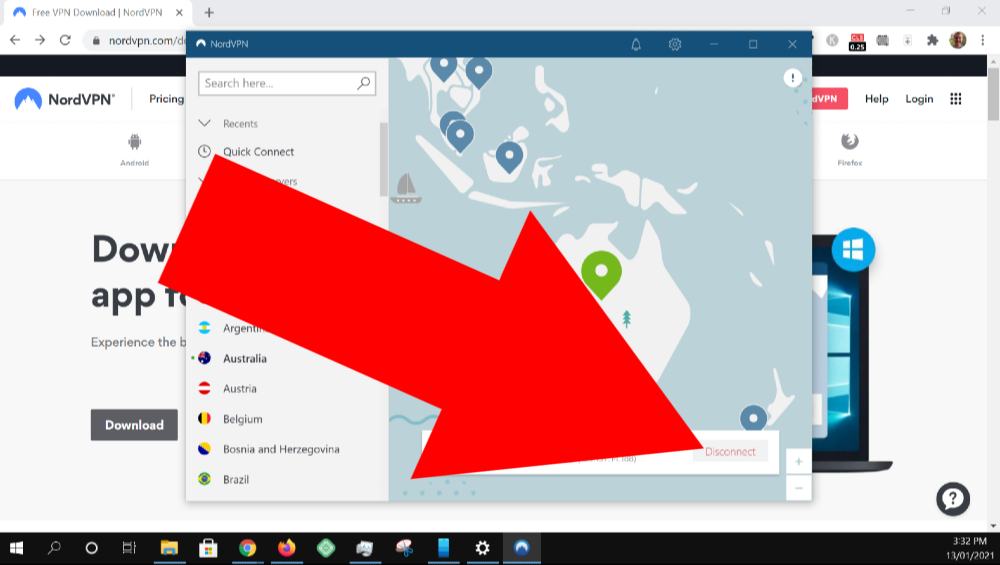
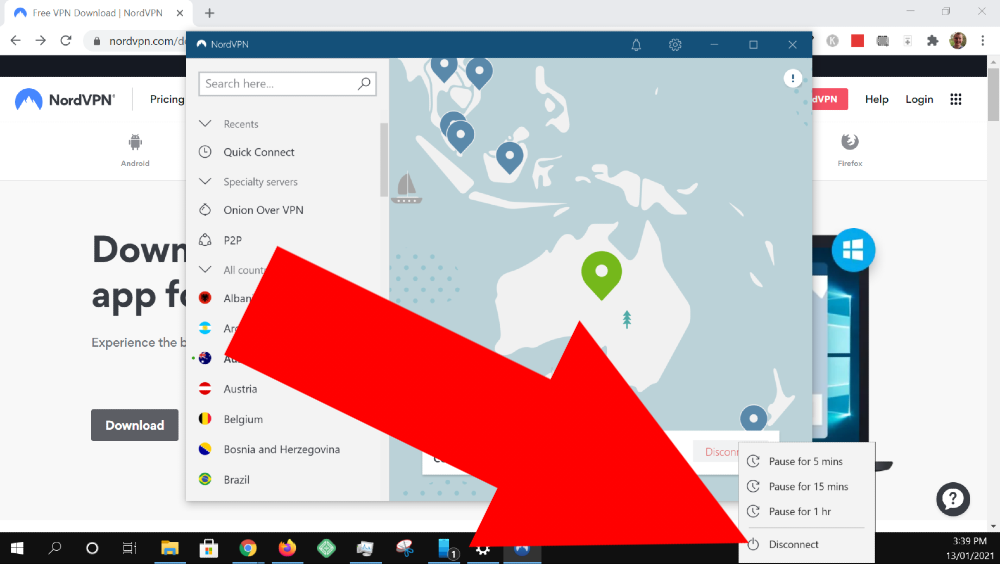
And you will then have the option to pause the VPN for various amounts of time, or disconnect it entirely.
The pausing options are great if there’s just one quick thing you want to do without the VPN before it turns back on, but if you want to disconnect it and have it only turn back on when you manually reconnect, you’ll just want to choose “Disconnect”.
How To Choose Different Countries In NordVPN
So quick connect is great if you just want a nice and fast VPN experience, but if you want to connect to a VPN server in a different country to do things like watching international Netflix, you need to do that a bit differently.
When you open the NordVPN app, you will see all the available countries listed in alphabetical order in the menu on the left-hand side of the screen.
To connect to a different country, just scroll down the list until you find the one you want to connect to (you can use the search bar to search for it if it’s easier), and then click on the one you want.
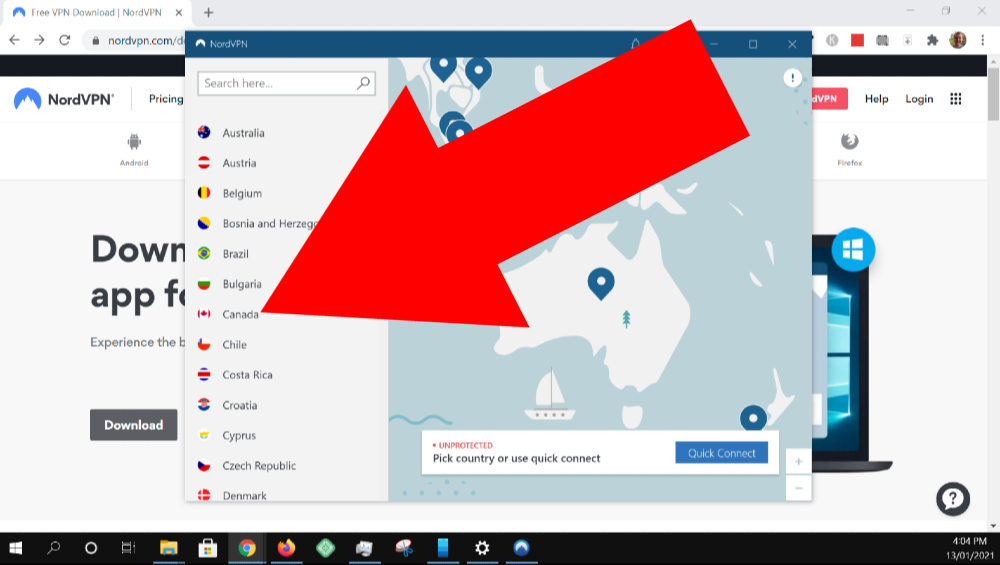
And you will then be automatically connected to the best available server in that country, and any website you visit will now think you are in that country which is great for sites like Netflix that restrict certain content to certain countries.
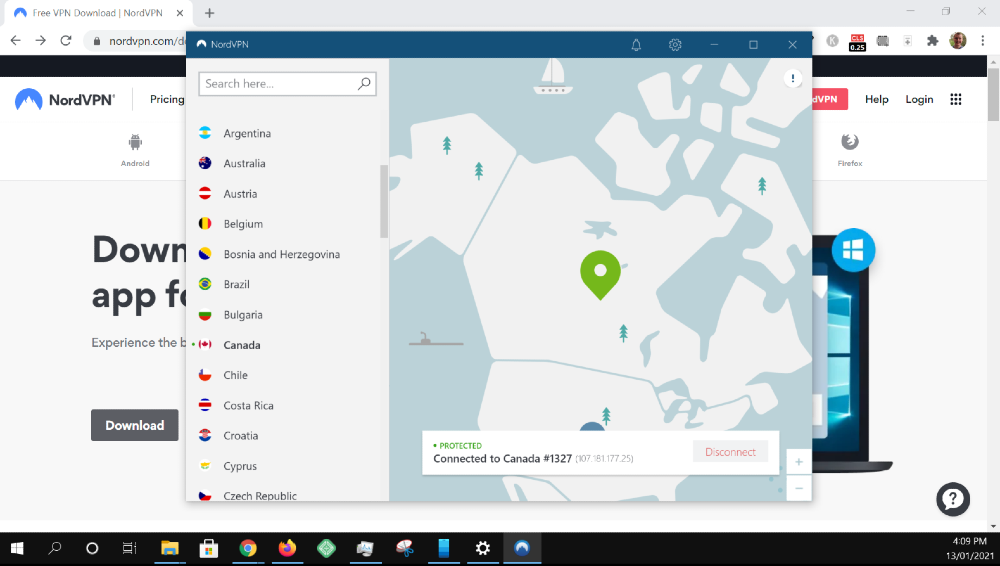
And then once you’re done with whatever you wanted to do, you can obviously just go back into the NordVPN app and click “Disconnect” to disconnect the VPN.
And that’s all there is to it, you now know how to install NordVPN, connect to different servers all around the world, and disconnect.

