How To Install Netflix On A Chromebook
If you want to install Netflix on your Chromebook so that you can easily watch Netflix on your computer and even download movies and TV shows to your Chromebook to watch offline, you’re in the right place, because today, that’s exactly what I’m going to show you how to do.
You can actually install the Netflix Android app on your Chromebook very easily in the Google Play store and it will work very similarly to the way it does on a smartphone.
One caveat is that, in order to do this, your Chromebook needs to be able to install Android apps from the Google Play store. This likely won’t be an issue for most people as pretty much every Chromebook made in the last 5 or so years can install Android apps, but if your Chromebook is super old, this might not work for you.
How To Install Netflix On Your Chromebook
The first step you’ll need to do to install Netflix on your Chromebook is open up the Google Play store.
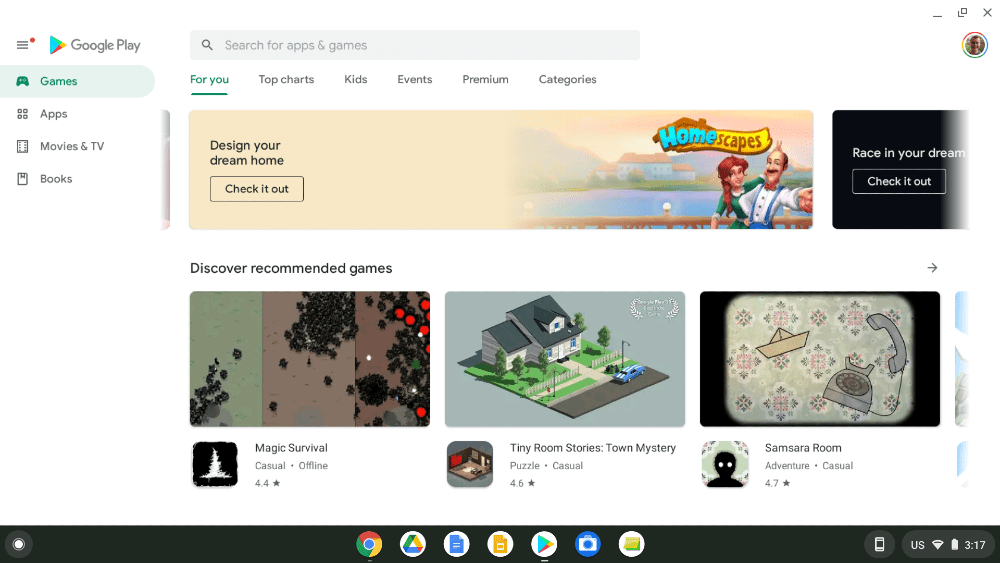
And then, in the search bar at the top of the screen, search for “Netflix”.
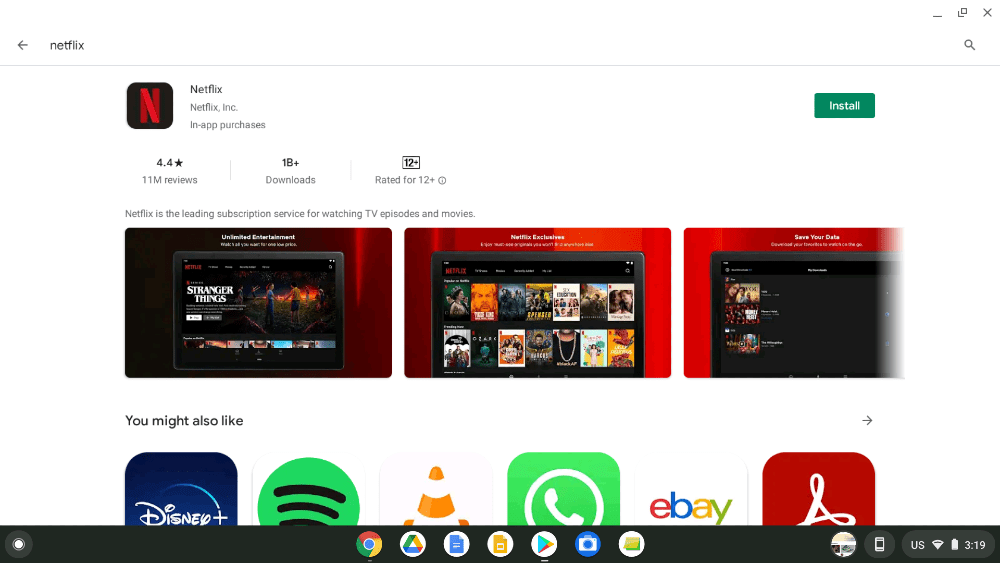
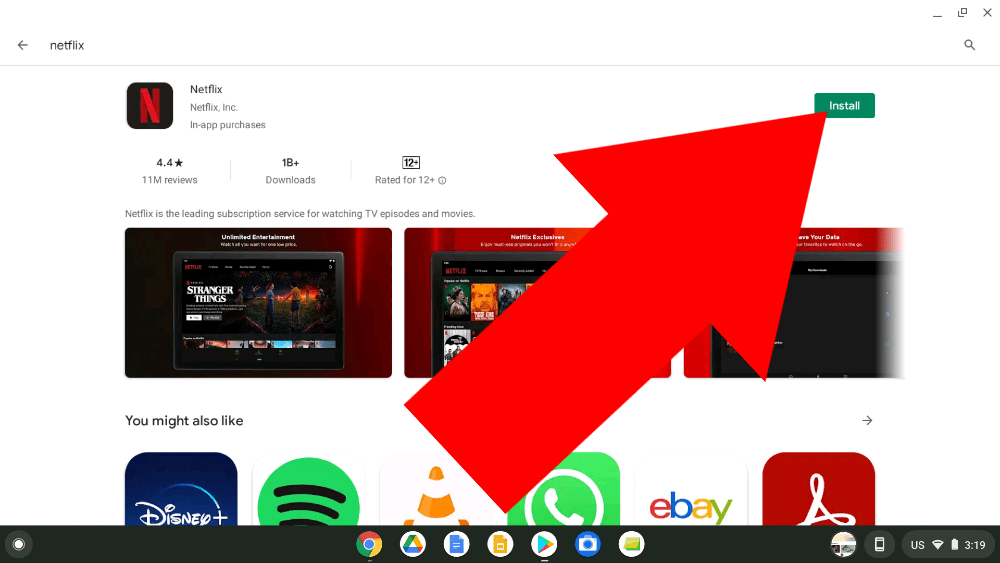
The Netflix app will obviously be the top result that comes up, so now you just need to click the “Install” button.
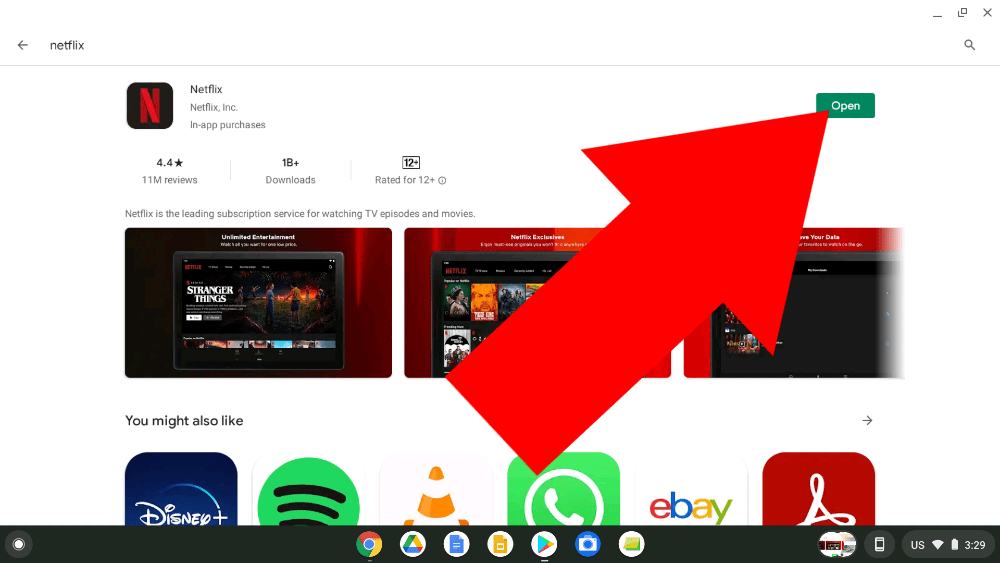
And then once it installs, the install button will turn into an “Open” button, and you’ll be able to open the app by clicking “Open”.
Then, when you open the app for the first time, you will see a welcome screen with a big red button that says “Get Started”, and if you don’t already have a Netflix account, you can click “Get Started” and follow the prompts to create one.
But if you already have a Netflix account and you just want to sign into it, you’ll actually need to click the small “Sign In” button in the top right hand corner.
PS: I tried to take a screenshot of this to show you what it looks like, but the screenshots of both this and the login screen are just back rectangles so Netflix must have done something to prevent screenshots on these pages.
And you’ll then be taken to a login screen where you’ll need to enter your Netflix email address and password, and then click “Sign In”.
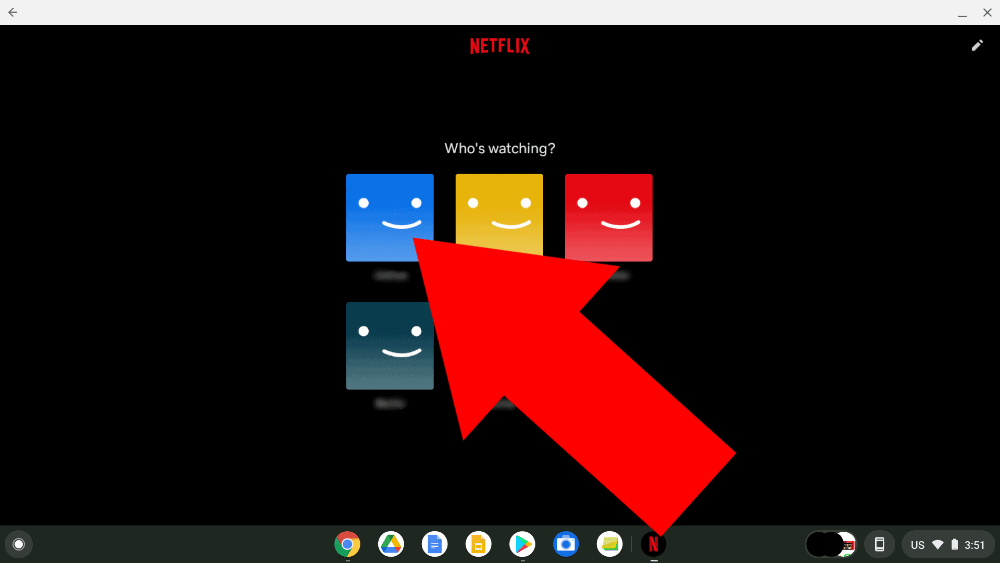
Now, you’ll be signed in to the Netflix app, and all you have to do is choose the profile you want to use by clicking on it.
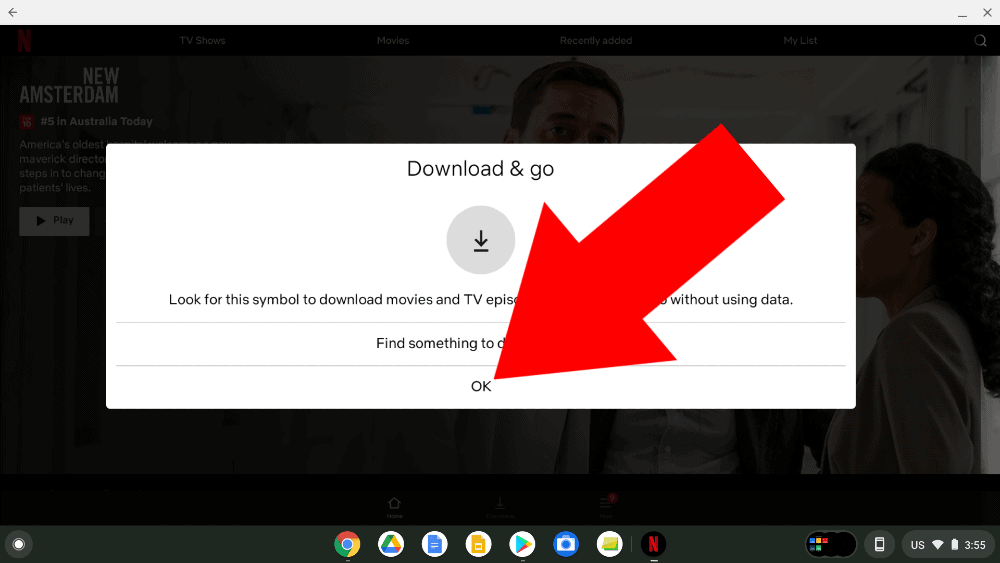
After you chose your profile, it will show you a popup message letting you know you can download movies and TV episodes offline to watch on the go, but you can just click “OK” and you’ll be all set.
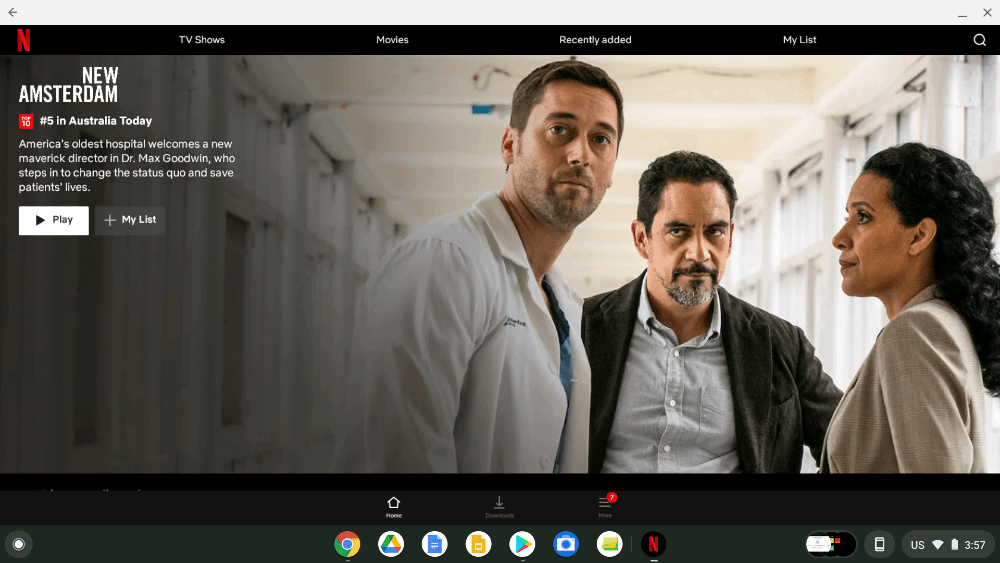
And now you’re ready to start watching!
One last thing I want to mention is, if you plan on downloading movies or TV shows to your computer, you might want to consider changing the default download quallity to “High” rather than the default setting which is “Standard”.
If you don’t have much free space on your Chromebook or you plan on downloading a lot of stuff at once, you should probably just leave it to standard, but if you have plenty of free space and appreciate watching things in high resolution, you might want to change the settings by following the steps below.
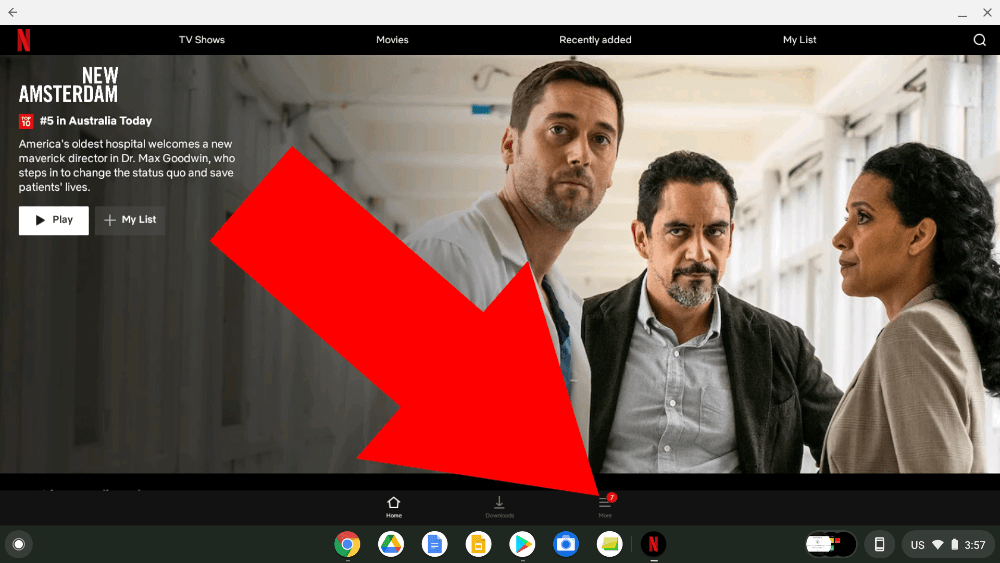
To change the download quality settings, click on “More” in the menu across the bottom of the screen.
And then, scroll all the way down and click “App settings” near the bottom of the screen.
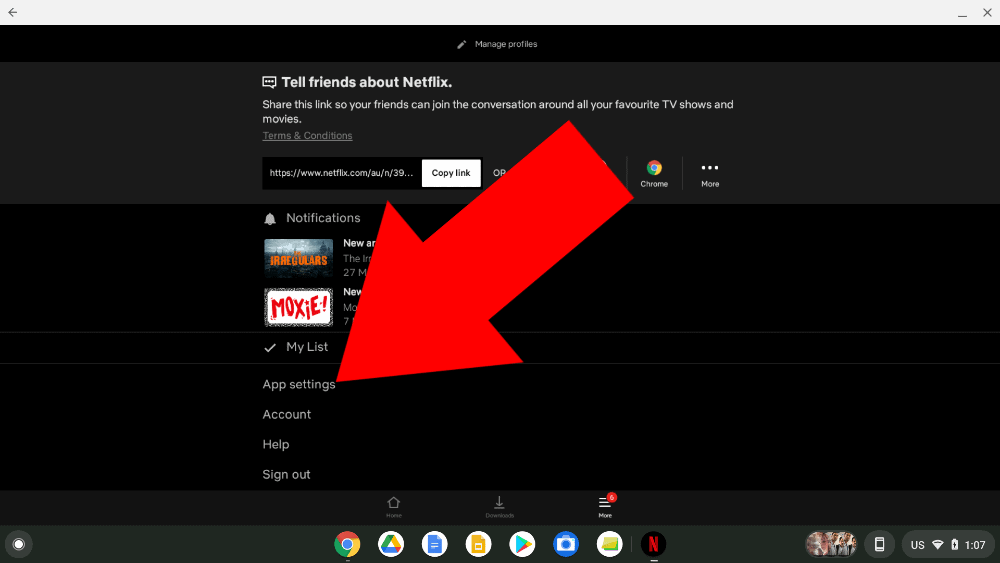
Now that you’re in the app settings, all you have to do is click on “Download video quality”.
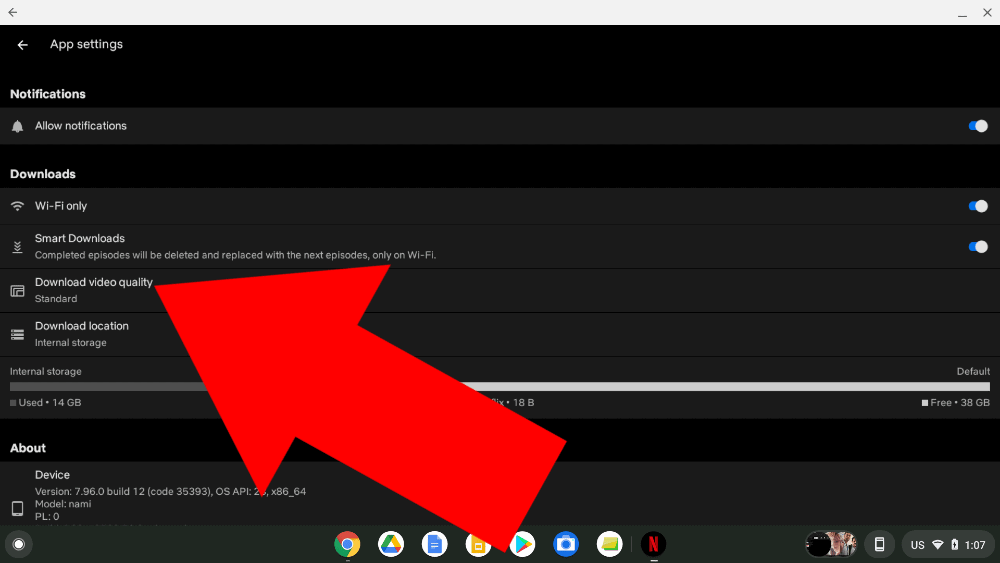
And, in the popup that appears, select “High” instead of “Standard”.
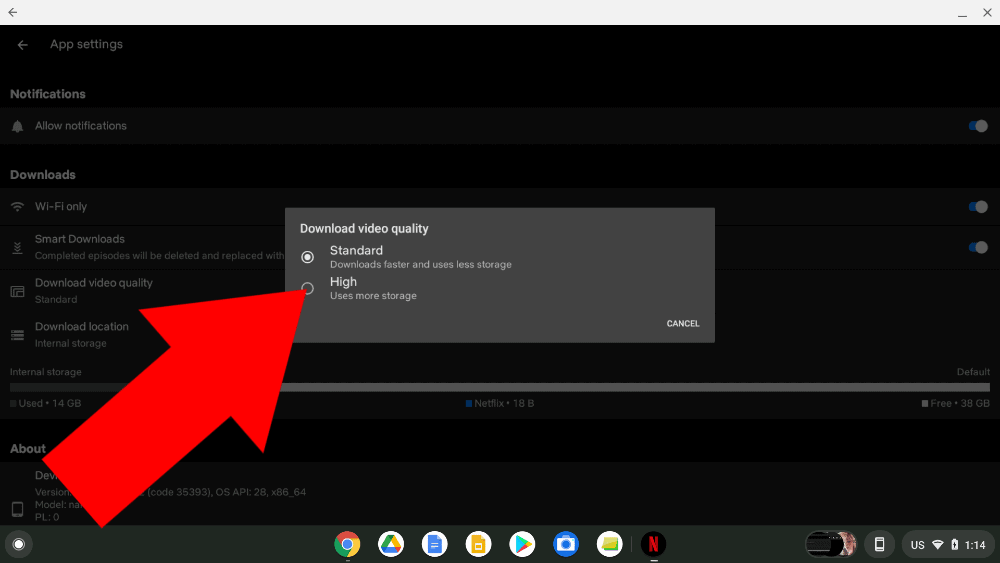
And that’s it! Now any movie or TV show you download on your Chromebook will download in high quality.
And that’s all there is to it! You now have the Netflix app installed on your Chromebook so you can easily watch movies and TV shows or even download them and watch them in places where there’s no Wifi.
If you don’t want to go to the trouble of installing the app, you can just sign in to the Netflix website and watch it online, but the Website doesn’t work offline and it’s a bit less convenient so I’d definitely recommend installing the proper app using the steps above.

