How To Install Firefox On A Chromebook
In this article, I’m going to show you two different ways that you can install Firefox on your Chromebook. I’m sure you know by now that in Chrome OS, the preinstalled default browser is Google Chrome.
But sometimes, it can be nice to be able to use Firefox as well. Mabey you prefer Firefox over Google Chrome, maybe Firefox has some features Chrome doesn’t that you need to use for a few things you do, or maybe you just like to have a secondary browser available.
But regardless of why you want to install Firefox on your Chromebook, as there’s no official “Firefox for Chromebook” app, trying to install Firefox on a Chromebook can seem like a bit of a difficult task.
But fortunately, there are actually two different ways you can go about doing this. The first and easiest option is to install the Firefox Android app that is meant for phones and tablets, and the second (but more difficult) way is to install the Firefox Linux app.
If you just want to do some very basic web browsing and you don’t mind the somewhat awkward feeling of using a stretched-out version of the Firefox smartphone app. Then the Android app will be a good option as it is very easy to install and doesn’t require you to enable Linux on your Chromebook.
But if you want to use the real desktop version of the Firefox app that was intended to be used on a computer with a keyboard and mouse and has all the features you’d usually expect from Firefox, you’ll need to install the Linux version. It’s a bit of a process to get it up and running, but it’s fairly simple and I’ll walk you right through it step by step.
First off, I’ll show you how to install the Android app, but if you only care about installing the Linux app, feel free to skip down to where I’ll show you how to do that.
How To Install Android Firefox On A Chromebook
Table of Contents
To Install the Android version of Firefox on your Chromebook, the first thing you’ll need to do is open up the Google Playstore app.
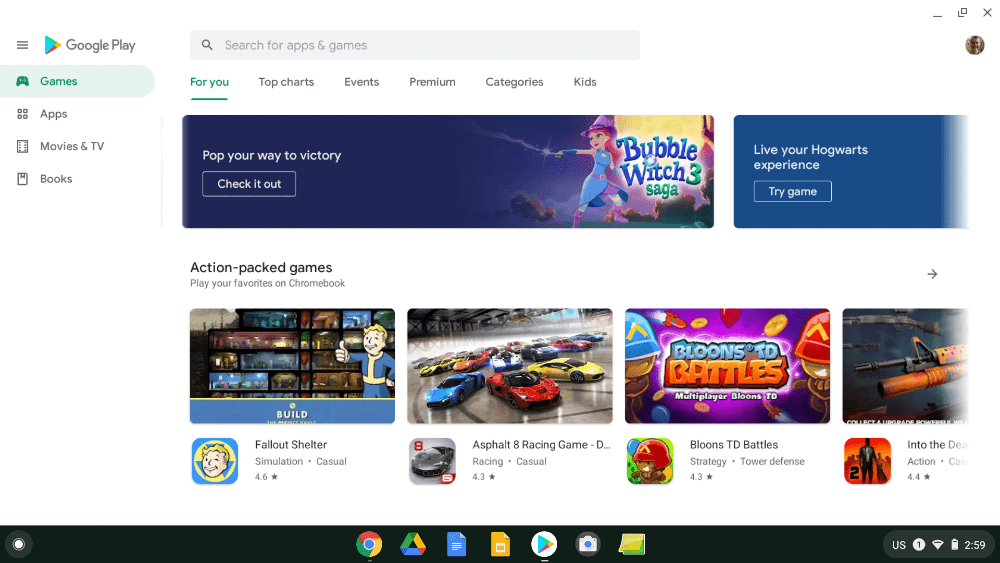
And then, in the search bar at the top of the screen, search for “Firefox” and press enter.
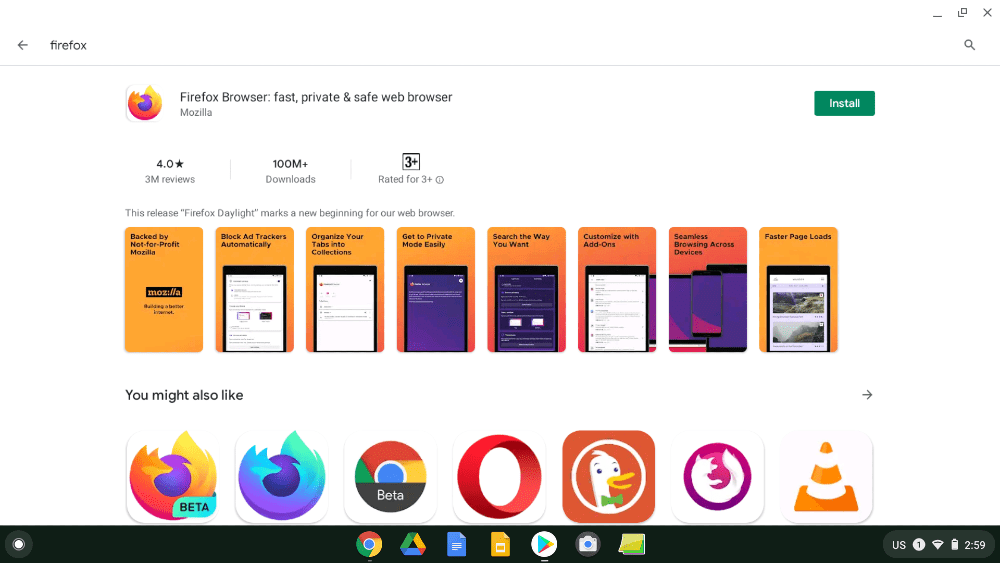
Then, Firefox will obviously be at the top of the search results, so all you have to do is click “Install” and it will begin installing.
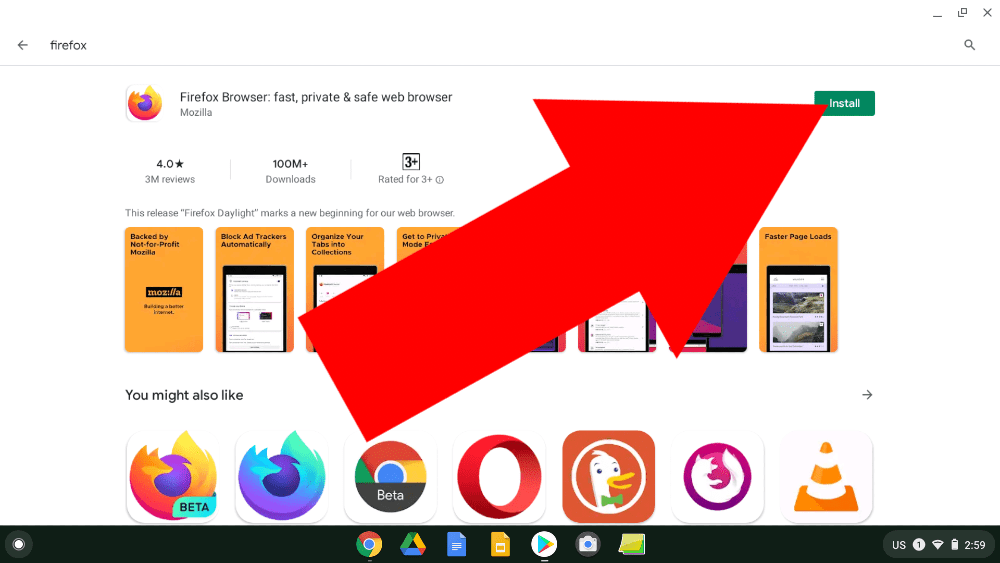
And then Firefox will be installed! Once it’s installed, the install button will turn into an open button and you will be able to open the app by clicking open.
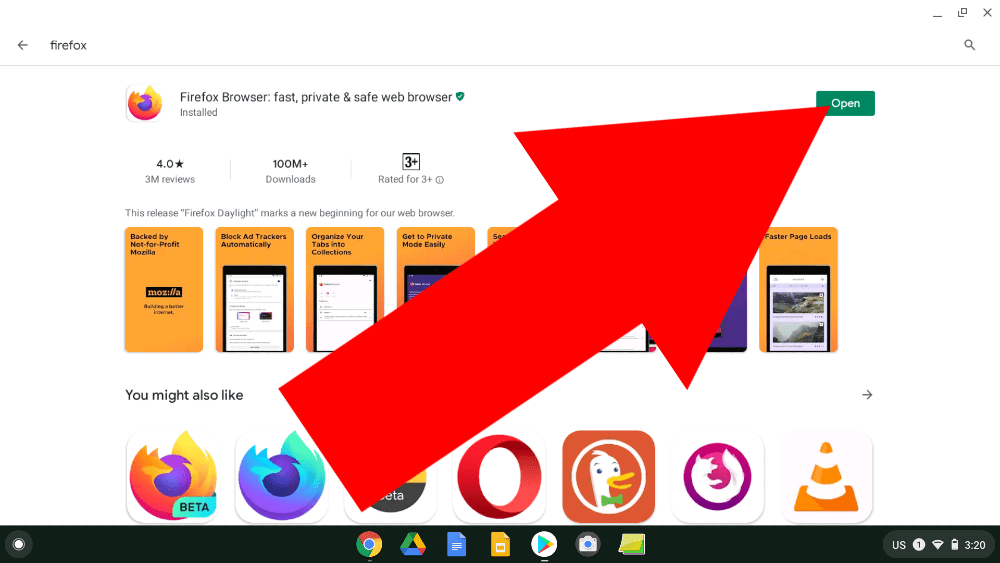
When you open it for the first time, you will see a screen welcoming you to Firefox and prompting you to sign in to your Firefox account and choose some different options of the settings you want to use.
I won’t walk you through all of this as it’s quite self-explanatory, but once you finish choosing all the options that best suit you and get to the bottom of the page, you can go ahead and click “Start browsing” and you’ll then find yourself on the new tab page ready to start browsing the web.
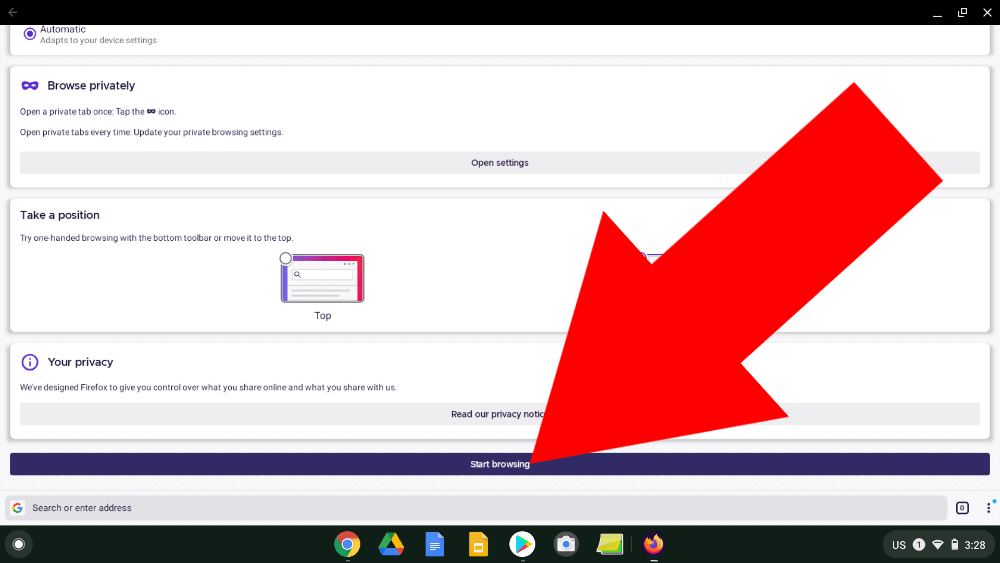
Unfortunately, as you start using it, you might notice that using the Firefox Android app on a Chromebook is not really a great experience. It’s exactly the same layout as you’d find on an Android phone, except it’s very stretched out in order to fill the big, wide, screen of a Chromebook which is a bit of an odd experience.
And when you visit a website, scrolling up and down the page using the trackpad is basically impossible, all it seems to do is highlight some of the text and then jump straight from the top of the page to the bottom.
The up and down arrow keys on the keyboard work fine, scrolling with the scroll wheel on a mouse works fine, and scrolling using the touchscreen like on a phone or tablet works fine, but scrolling with a trackpad is basically impossible.
Another thing to keep in mind is that some websites might think you’re using a phone based on the browser. If you go to a regular blog website like, for example, hitechweirdo.com, it will display perfectly fine.
But if you visit much larger sites like Youtube or Amazon, you will get a very stretched-out version of their mobile site. And you can set it to show the desktop site, but then, for some reason, it becomes rather zoomed in and squashed.
So depending on what you wanted to do, this easy Android option might be perfectly fine, but if you want to be able to use the full, real, Firefox on your Chromebook, you’ll really need to install the Linux app.
How To Install Linux Firefox On A Chromebook
To install the Linux version of Firefox, you’ll first need to have Linux apps enabled on your Chromebook. If you already have Linux apps enabled, you’re good to go. But if you don’t, you can follow the steps in my article here to enable it, and then come back and continue on here once they’re enabled.
Next, you’ll need to open up the Linux terminal on your Chromebook. If you don’t know where to find that, it should be in the “Linux Apps” folder in the app launcher.
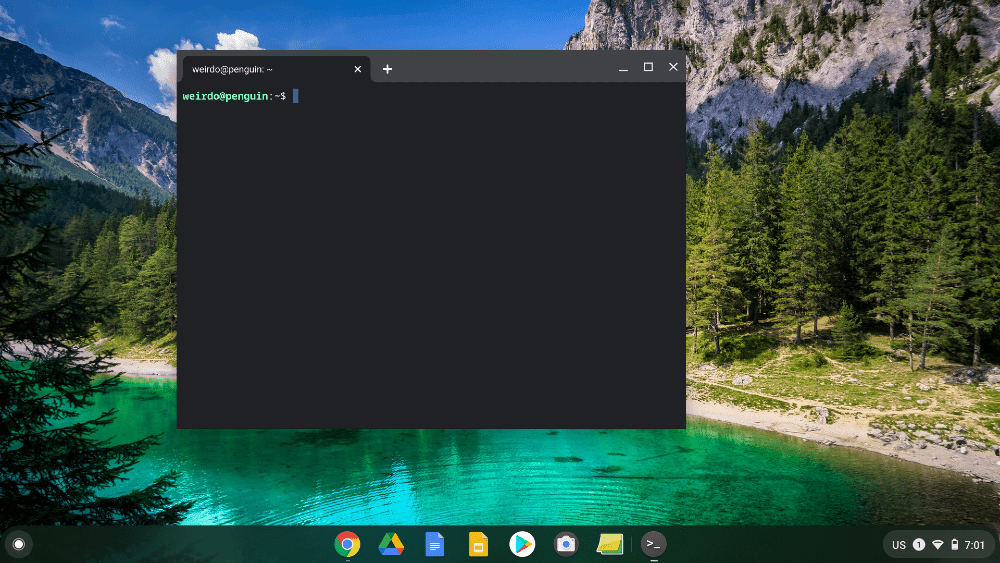
Then, in the terminal, you’ll need to type sudo apt install firefox-esr .
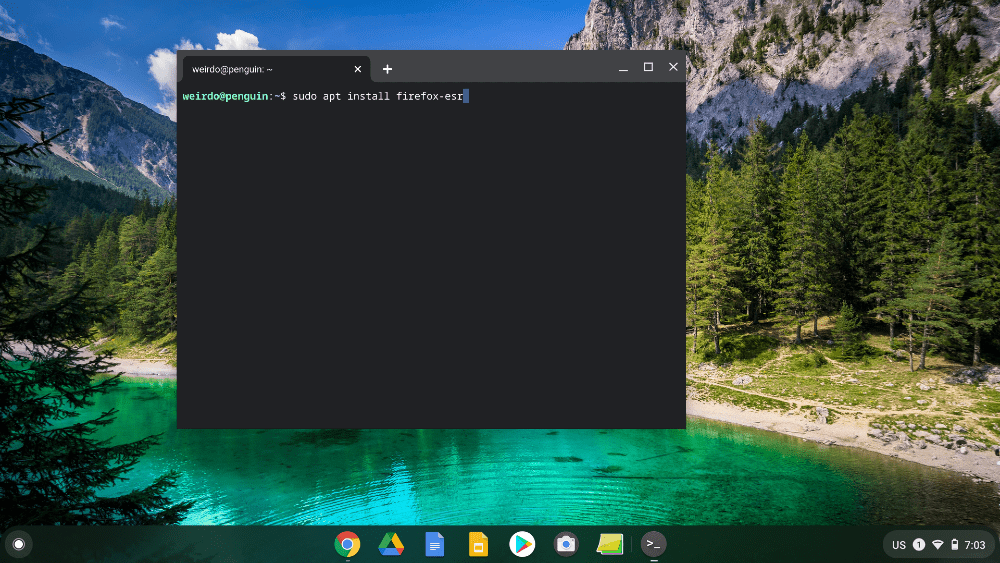
And then press the enter key on your keyboard. And it will then ask you if you want to continue.
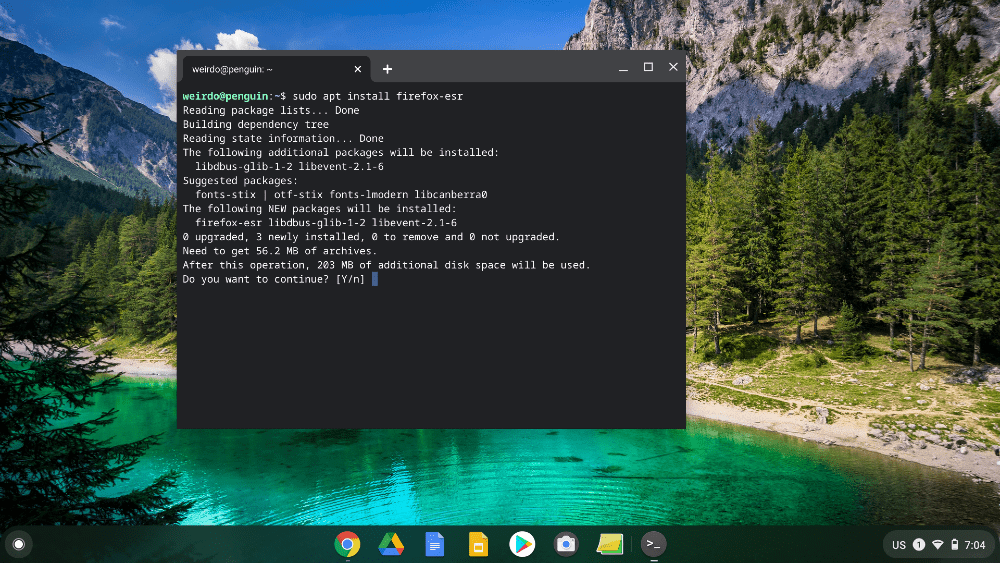
To say yes, just type the letter y .
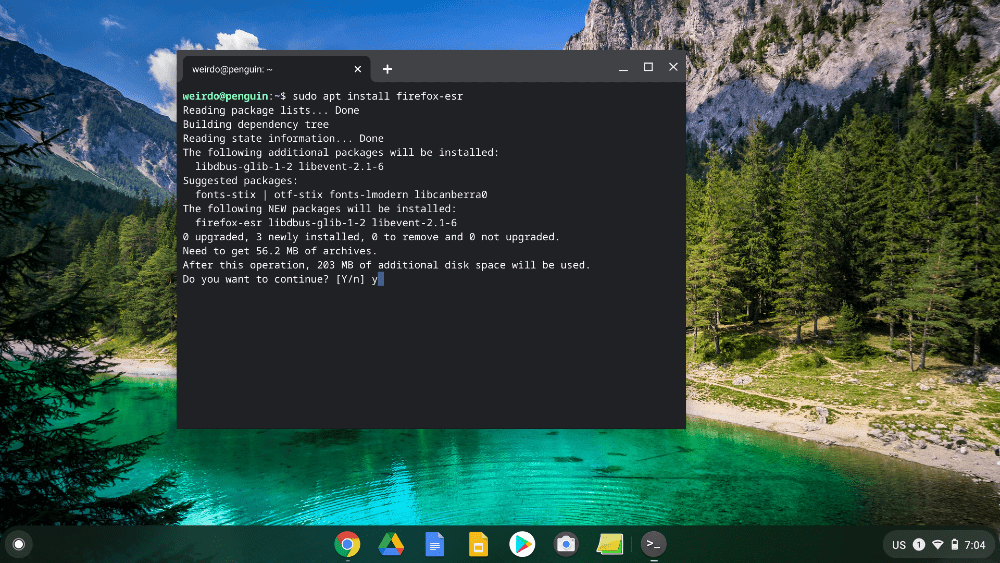
And then press the enter key again and it will begin downloading and installing Firefox. When it’s finished, it will kind of seem like it didn’t work because the terminal will just sit here doing nothing like this:
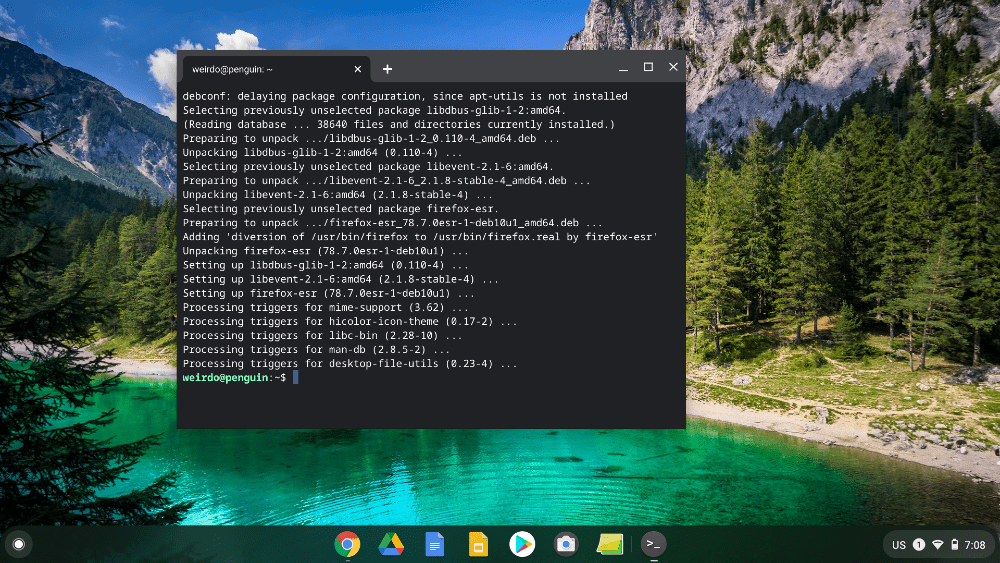
But that actually means Firefox is installed and ready to use. So if you go back into the “Linux Apps” folder in the app launcher, Firefox should now be there!
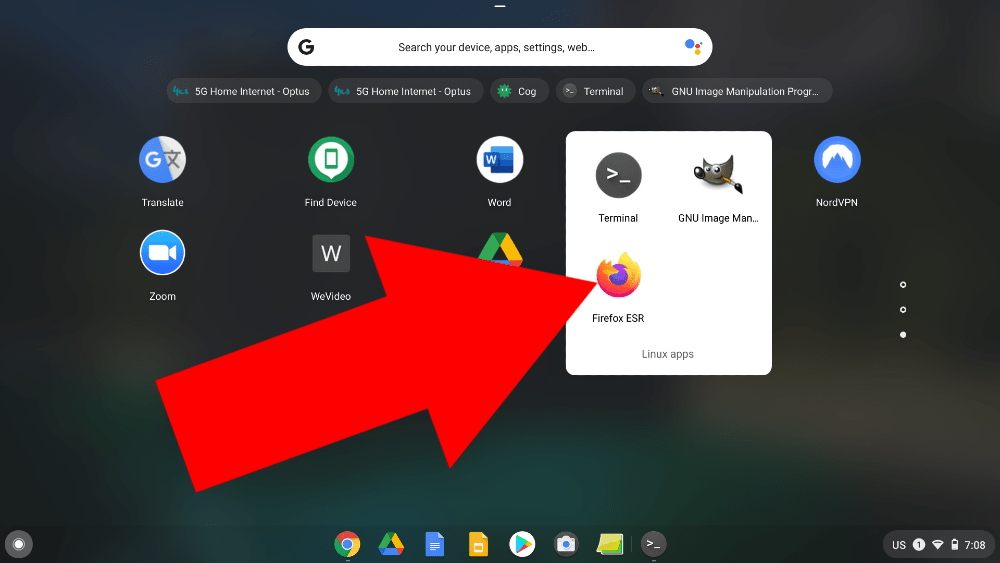
Now, if you click on it, Firefox will open up!
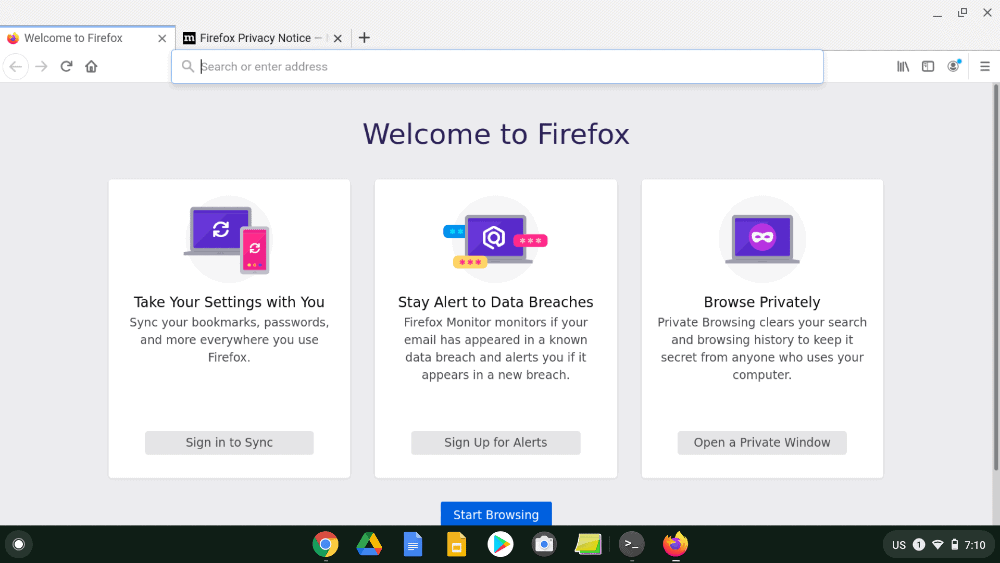
And that’s all there is to it! You can start browsing the web in the full, real, version of Firefox on your Chromebook!


