How To Stop WordPress Emails Going To Spam
If you have a WordPress website, you’ve no doubt experienced this annoying issue where any email sent from WordPress (eg: contact for submissions, security notifications, comment notifications, etc) ends up going to spam.
Some email services like Gmail have ways of “whitelisting” your website’s email address so that the emails don’t go to spam, and that sort of solves the problem as you will receive all the emails, but that’s really not an ideal solution.
And, if you have a website that needs to send emails to other people (like an e-commerce site for example), you can’t whitelist your site’s email address for everyone, so that means your website users will likely not receive your emails which is terrible.
But luckily, there’s a fairly simple solution to solve this and all you really need to do is install a plugin and enter in some details.
You see, the reason emails sent from WordPress so often go to spam or possibly even don’t arrive at all is because, by default, WordPress uses PHP to sort of create a fake email address to send the emails from which triggers warnings in most spam filters.
So, if you configure your website to use SMTP to send emails from a real email address using this simple plugin I’m about to show you. They will no longer be likely to go to spam because Gmail and every other email service will be able to tell that they came from a real email address.
Obviously, if the emails that your website sends have content that seems like spam, they will likely still go to spam and there’s really no way around that. But if you use this plugin to configure WordPress to send emails correctly, any legitimate emails should not go to spam.
So enough talk, let’s get started.
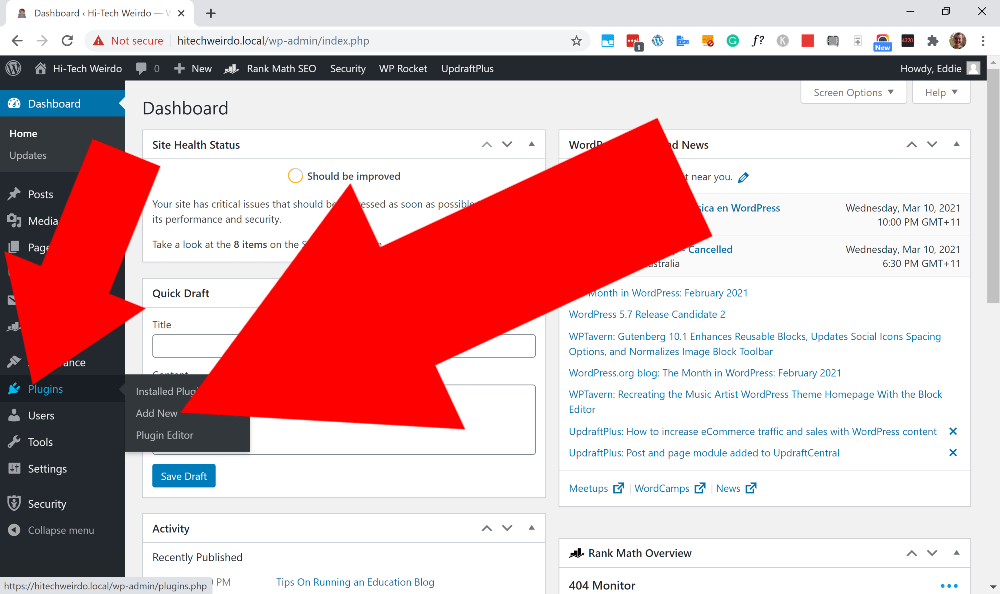
The first thing you need to do is install a plugin called “WP Mail SMTP”. To do this log in to your WordPress dashboard, hover over “Plugins” in the left-hand menu, and click “Add New”.
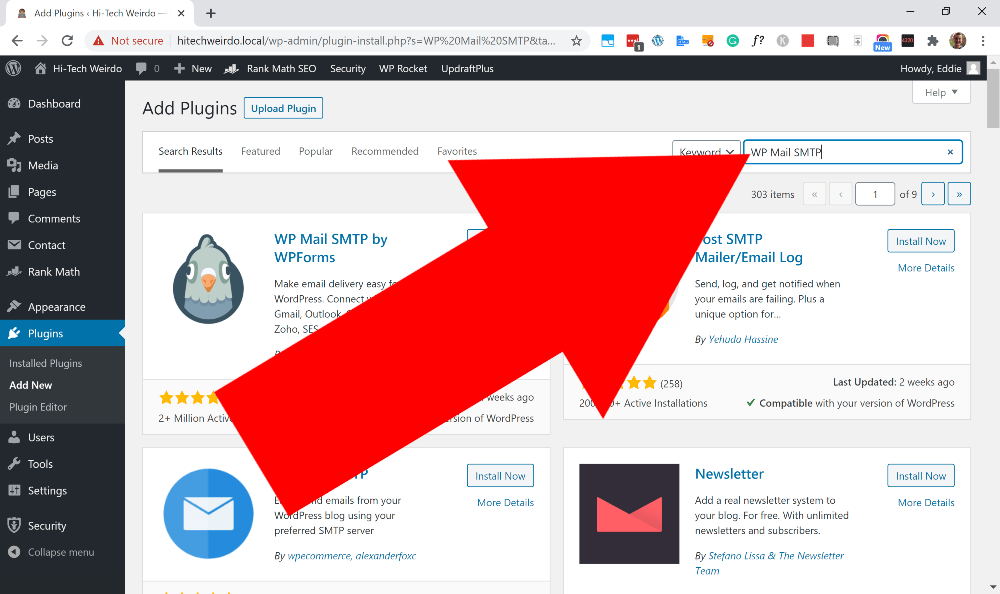
And then, in the search box in the top right-hand corner, search for “WP Mail SMTP”.
It will be the first result that comes up, so just click on “Install” to begin installing it.
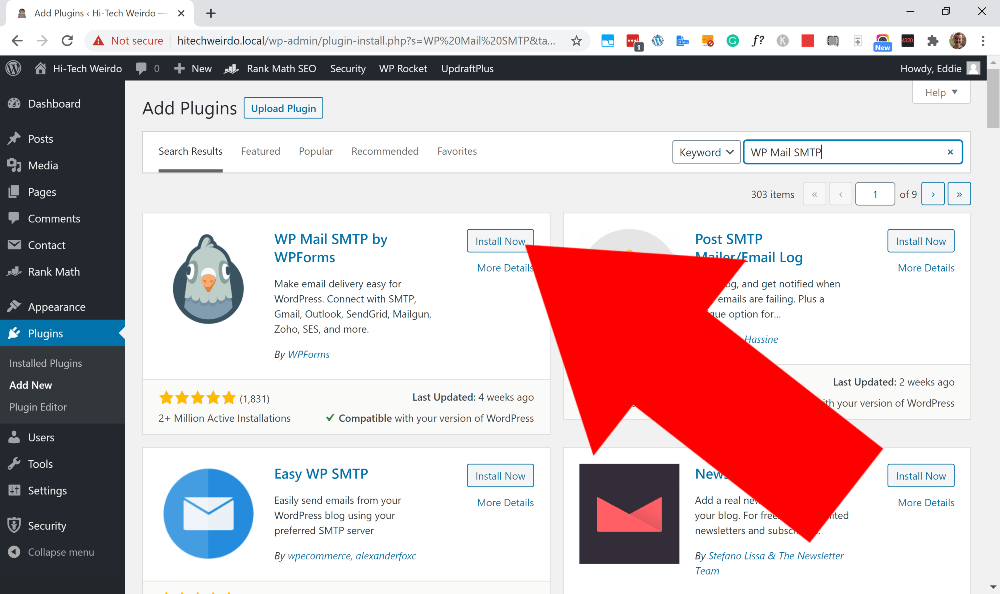
And then, once it’s installed, the install button will turn into “Activate” and you’ll need to click “Activate” to make the plugin start running.
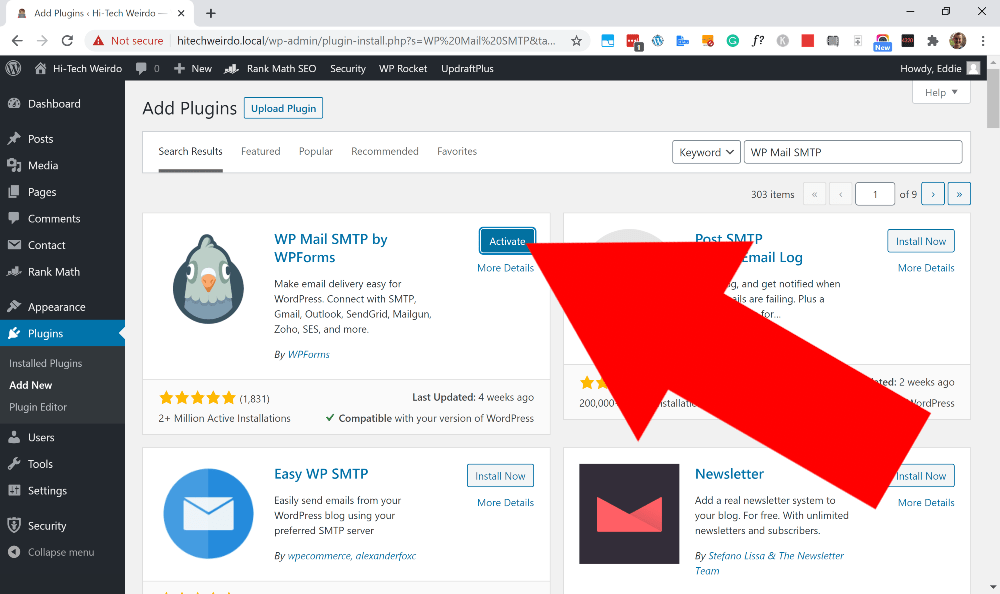
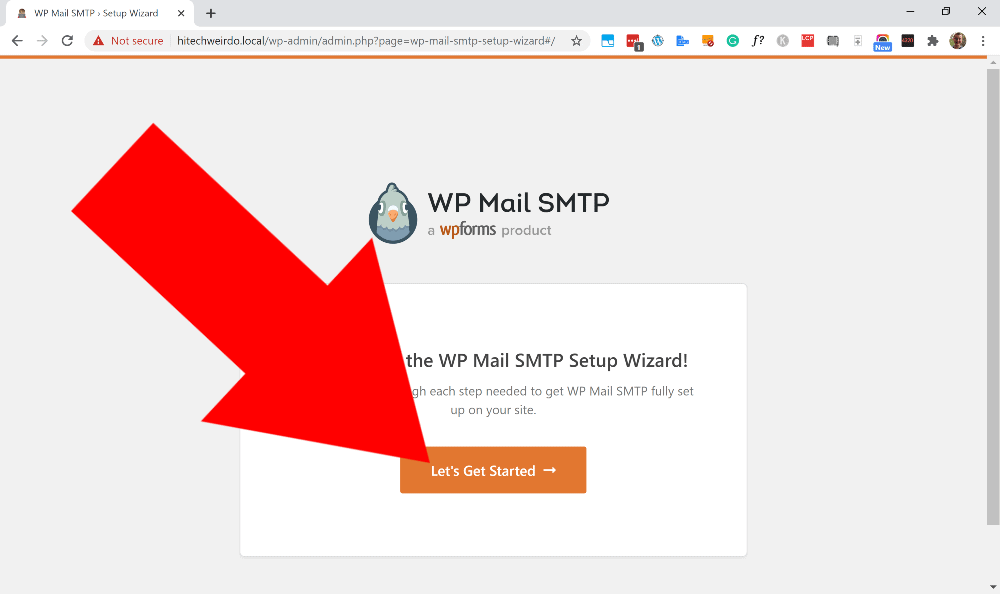
Now that the plugin’s active, you’ll see a setup wizard page to help you get everything configured and you’ll need to click “Let’s Get Started” to begin the configuration process.
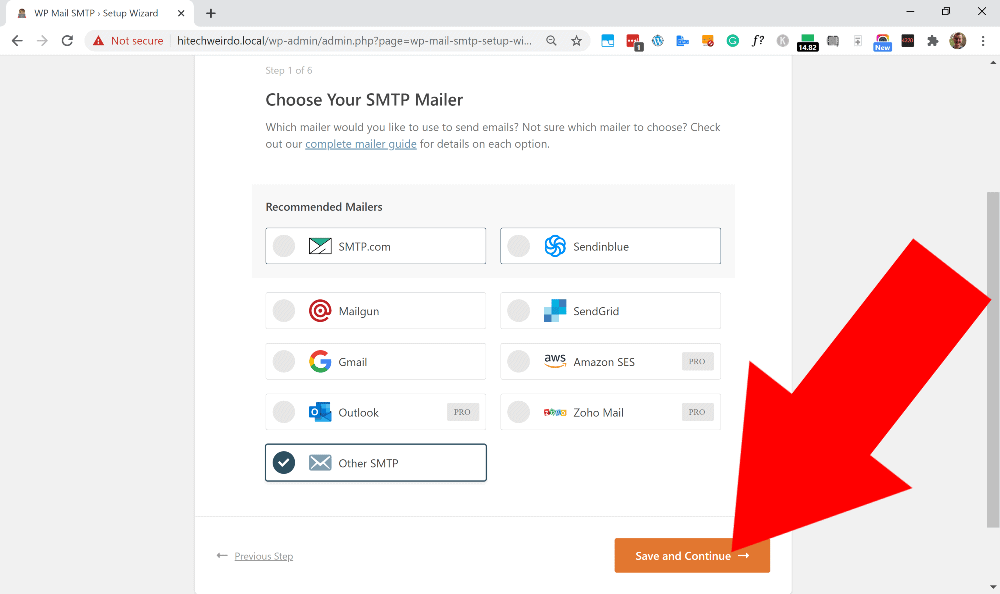
The first step of the configuration will be to choose your “SMTP Mailer”. This is basically choosing the service you want your emails to be sent through. This plugin supports direct integration with services like Gmail, SendGrid, Sendinblue, and more.
So if you use one of those services for your emails, you can select the one you use here and then follow the steps to integrate it on the next page.
But if like me, you use the standard email service provided by your web hosting company, or you use a different service that’s not listed here, you can choose “Other SMTP” which will allow you to enter in all your SMTP details as though you’re setting up an email app.
Once you’ve made your choice as to which email service you want to connect, go ahead and click “Save and Continue”.
Now, if you chose to connect to a service like Gmail, you will see a page with different boxes you need to fill in order to set that up, and a link to instructions on how to configure it for your specific service.
I can’t really walk you through how to configure each different service because A I don’t have accounts with all those different services, and B that would make this article extremely long, but if you follow the instructions it gives you, it will be fairly straight forward.
But if like me, you chose “Other SMTP”, you will now see a page where you’ll need to enter all your SMTP details.
If you don’t know your SMTP details, you should be able to find them in either the cpanel of your web hosting account if you use the email service provided by your web host.
Or if you’re setting up SMTP for a different email service, you should be able to find these details somewhere in the settings of your account.
Once you’ve found your details, the first thing you’ll need to enter is your SMTP host. (This is often something like smtp.yourdomain.com or mail.yourdomain.com.)
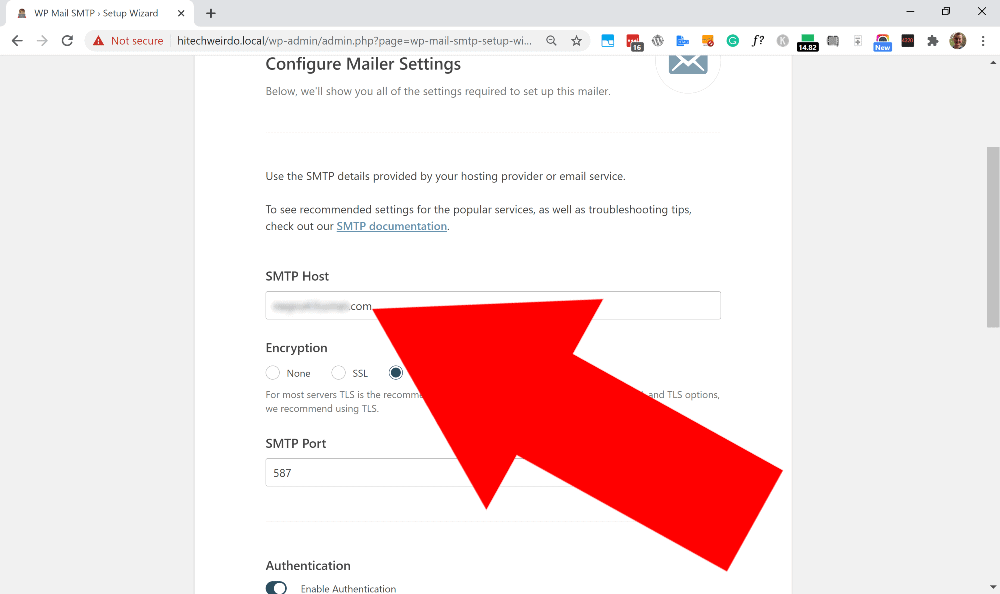
Next, you’ll need to choose your encryption type, I usually use “SSL” and it works perfectly so I’d recommend choosing SSL. But if you set it to SSL and have problems of some kind, you might need to come back and change it to “TLS”.
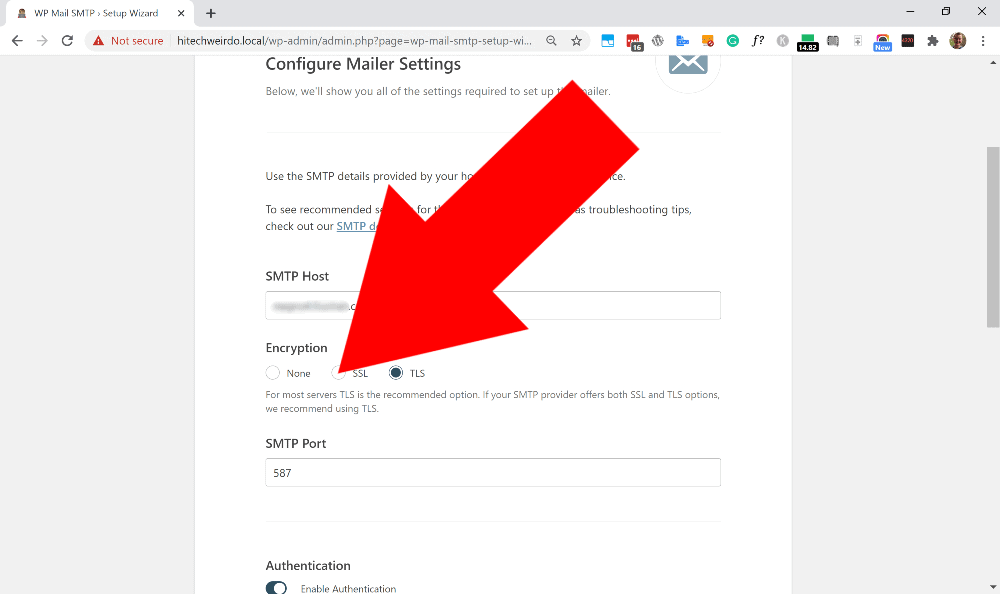
Next, you’ll need to enter your SMTP port which will either be 25, 465, or 587. Which one it is for you will vary, but for mine, it is 465 which is already filled in so I don’t have to do anything here.
Then, as you scroll down a bit further, you’ll see “AUTO TLS” which is usually best to just leave turned on unless you have any issues.
And then below that, you’ll definitely need to leave “Authentication” turned on and then enter your email account username and email account password in the two boxes below it.
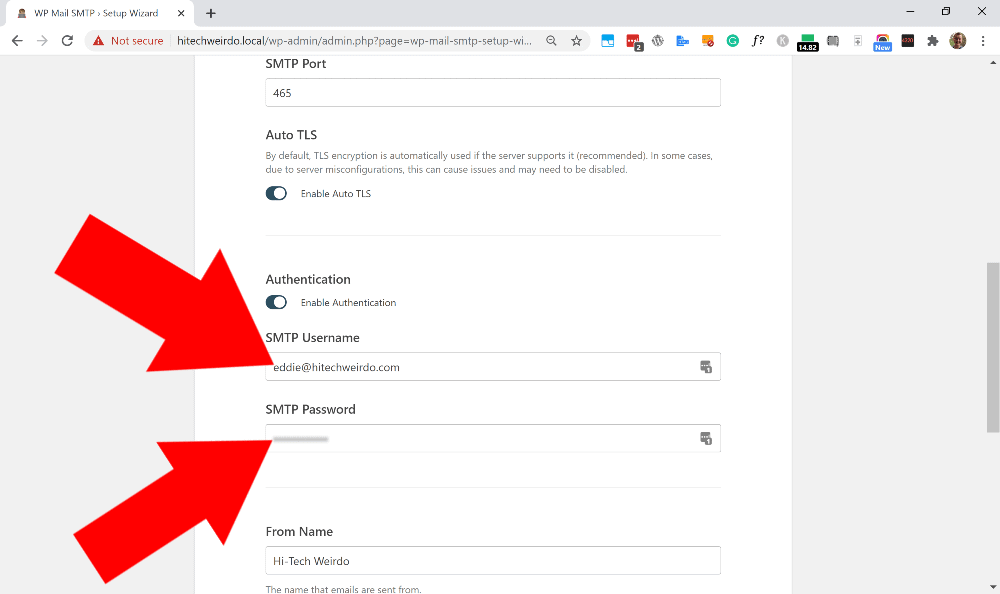
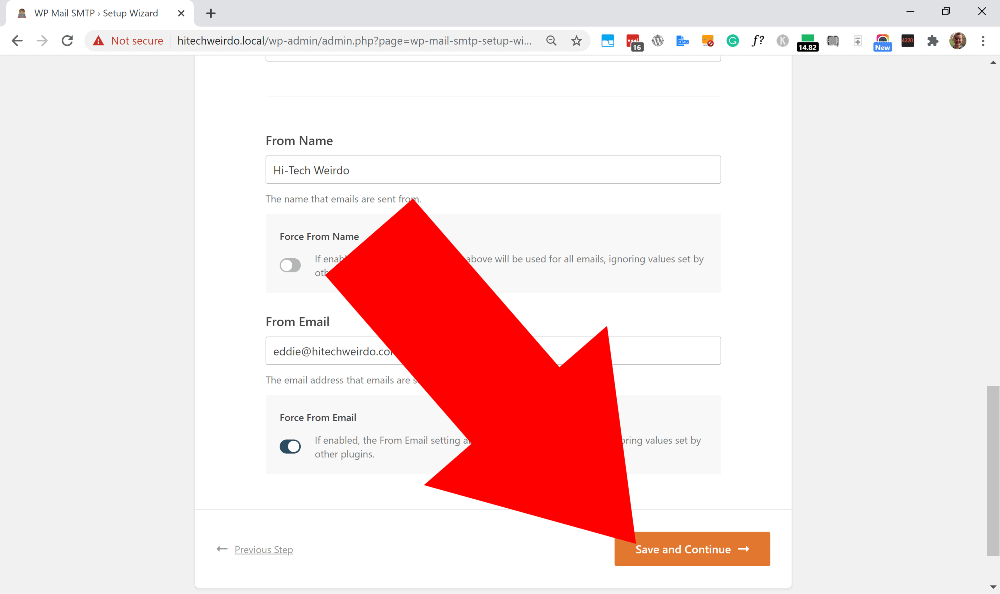
And now, at the very bottom of the page, you’ll need to enter the From Name and From Email Address.
By default, the from name is set to the name of your website which is probably best unless you want to change it to something else.
And you’ll need to set the from email address to be the one that all the details you entered above is for. For example, I entered the SMTP information, username, and password for my email address (eddie@hitechweirdo.com), so in order for this to work, I’ll need to set eddie@hitechweirdo.com as the from address.
Under each box, you’ll also see switches to enable or disable “Force From Name” and “Force From Email”. What this does, is force specific plugins to use your specified from name and email address.
For example, if you use the popular form plugin “Contact Form 7” and configure it to send emails with the from name being “Eddie”, but with this plugin, you set the from name to be “Hi-Tech Weirdo”. Enabling force from name would force Contact Form 7 to send emails with the from name of Hi-Tech Weirdo.
It’s really up to you how you configure this, but I usually just leave it set as default.
Now that you’ve finally configured all your SMTP settings, you can go ahead and click on “Save and Continue”.
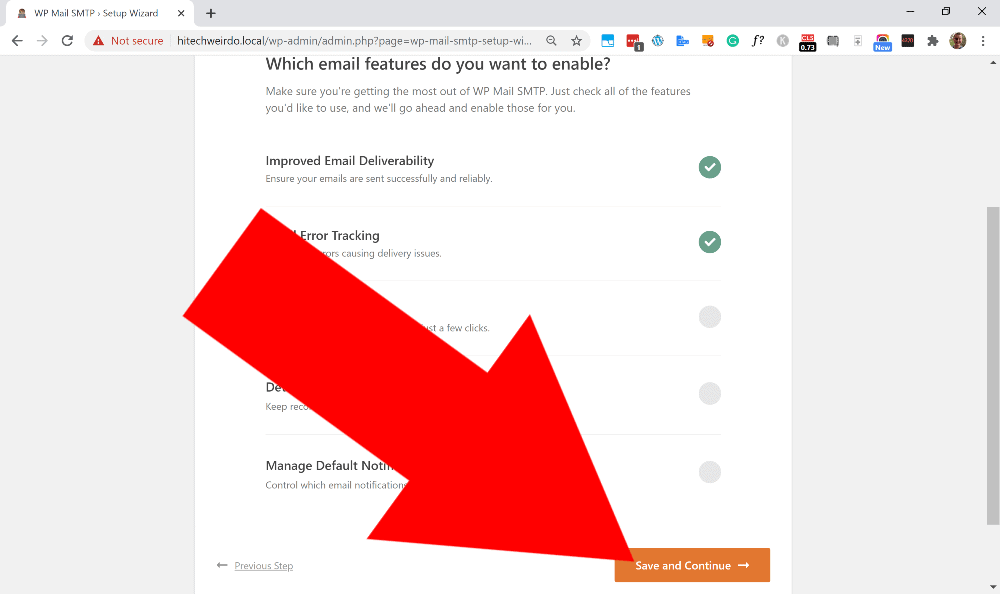
Now, regardless of which email service you chose to connect to, you’ll now see a page asking which features you want to enable. The first two options are really good so I’d recommend leaving them on.
But the third option is to build a contact form, and as you probably already have a contact form plugin on your site, you’ll probably want to disable this feature by clicking on the tick to untick it.
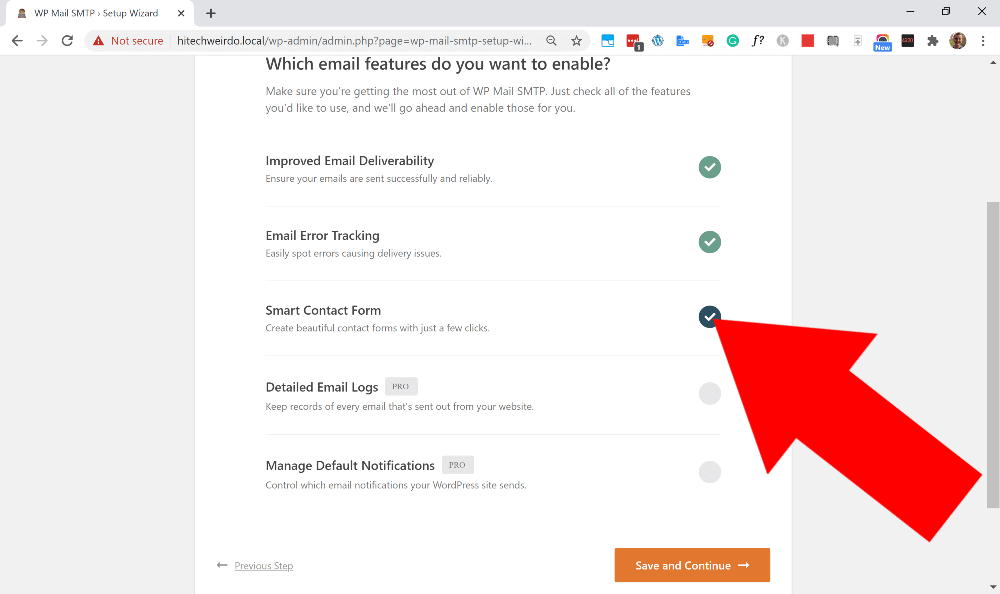
The last two features require the pro version of the plugin, and they’re not really that necessary so unless you happen to have the pro version, you’ll just need to leave them unticked and go ahead and click “Save and Continue”.
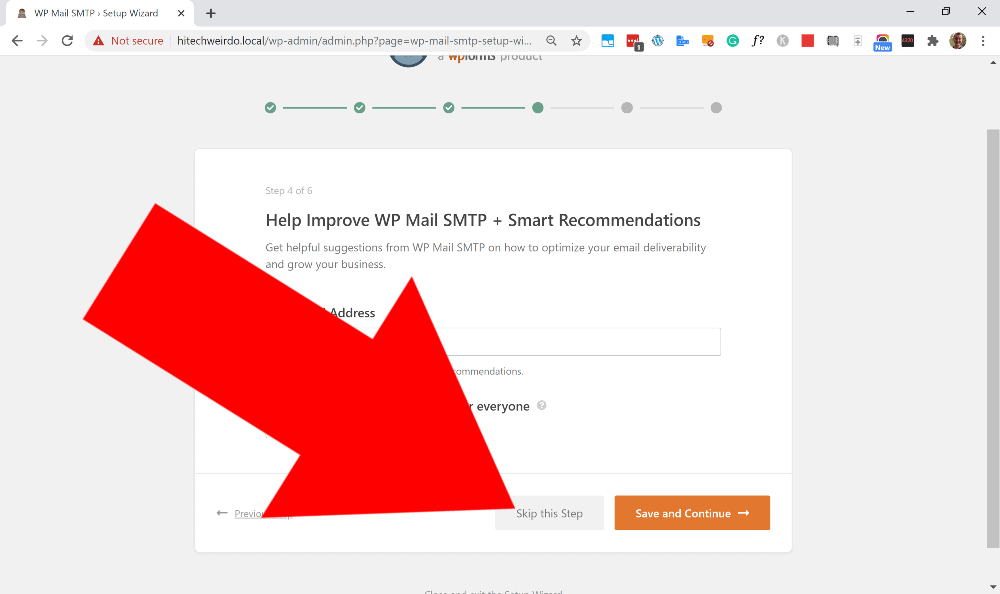
The next page just gives you the option to sign up for their email newsletter and enable usage tracking. You can choose to do either of these if you want, but I’m just going to click “Skip this Step”.
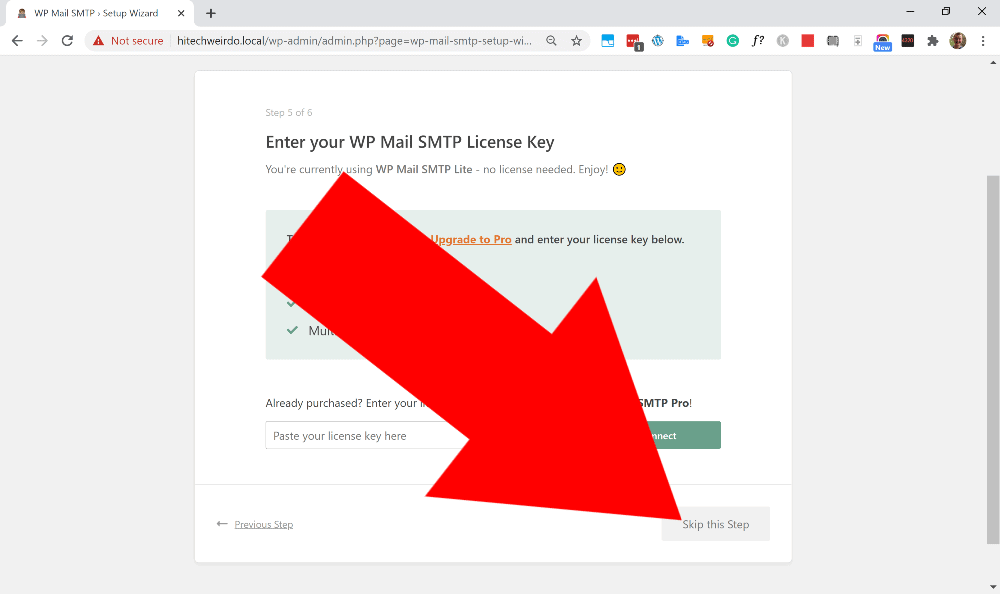
Then the next page is just about their pro version, so unless you have signed up for the pro version, or you want to sign up for it, go ahead and click “Skip this Step”.
Now, you’ll see this screen for a few seconds while it tries sending you an email to make sure everything’s working correctly:
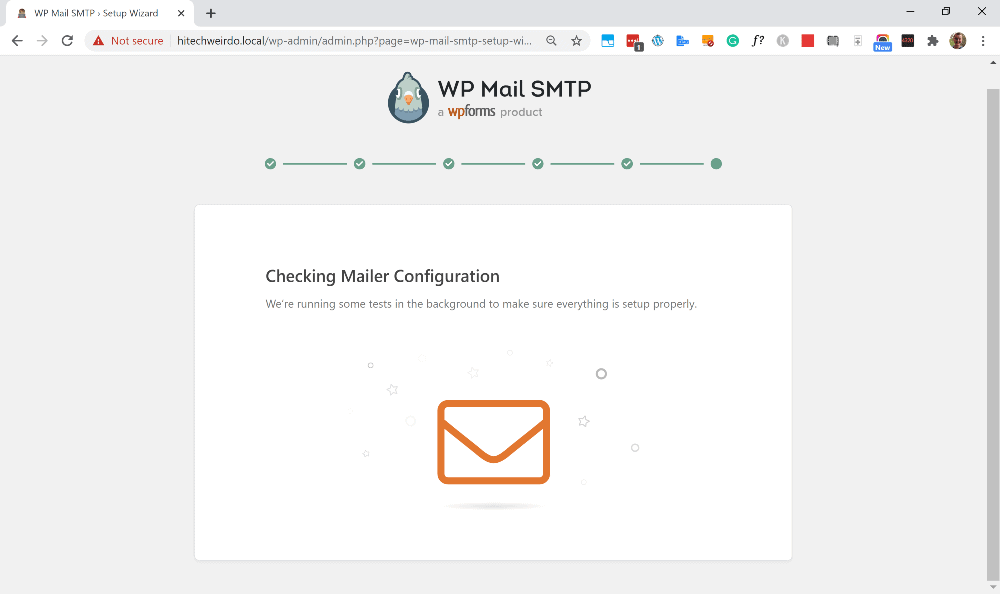
And, assuming everything works, you’ll receive an email confirmation letting you know it was successful, and you see a congratulations page!
And that’s all there is to it! Now, whenever WordPress tries to send an email, it will send it through the email address you just configured and it will have a much lower chance of ending up in people’s spam folders.

