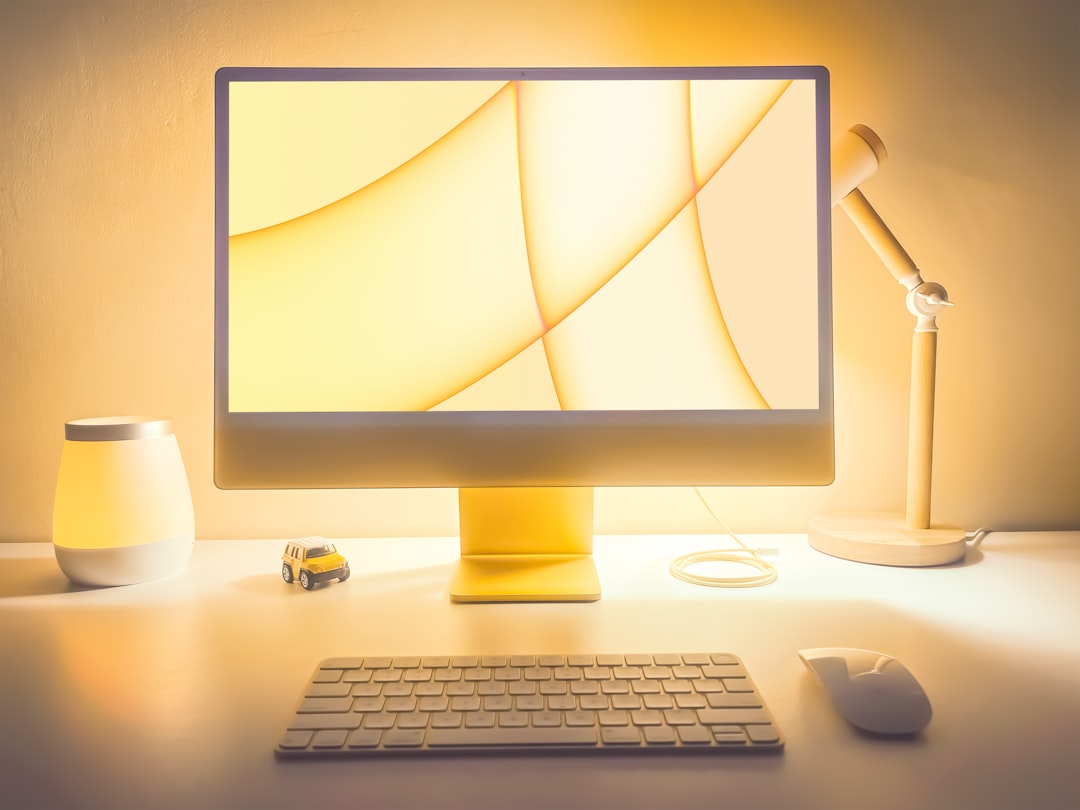
How to fix a yellowish screen monitor?
A yellowish hue on your monitor can be distracting, reduce color accuracy, and even lead to eye strain over prolonged use. Whether you’re editing photos, watching videos, or just browsing the internet, having true-to-life colors is essential. This discoloration issue can stem from a variety of sources such as incorrect settings, outdated drivers, or even hardware defects. Fortunately, in most cases, the problem can be resolved through a few straightforward steps.
1. Check Night Light or Blue Light Filter Settings
Table of Contents
The first and most common culprit is the built-in Night Light feature available in Windows and macOS operating systems. This feature is designed to reduce blue light and improve sleep quality by giving the screen a warmer, yellowish tone.
- Windows: Go to Settings > System > Display > Night Light. If it’s turned on, switch it off to restore color balance.
- macOS: Navigate to System Settings > Displays > Night Shift and disable it.
Once disabled, your screen should return to a more neutral color tone.
2. Adjust Color Settings in the Monitor Menu
Most monitors have built-in settings that allow you to customize brightness, contrast, and color temperature. Access the menu using the physical buttons on your monitor and look for color presets such as:
- Standard
- sRGB
- Cool
- Warm
Selecting either Standard or Cool profiles often helps counteract the yellow tint. If your monitor offers manual RGB settings, try reducing the red and/or green channels slightly.
3. Update or Reinstall Graphics Drivers
Outdated or corrupted graphics drivers can sometimes interfere with how colors are displayed on your monitor. Ensuring your drivers are up to date can often solve this issue.
- Open Device Manager and expand the Display adapters section.
- Right-click on your GPU and choose Update driver.
- You can also visit your GPU manufacturer’s website (NVIDIA, AMD, Intel) for the latest driver updates.
If updating doesn’t help, try uninstalling the driver and restarting your system. Windows will reinstall the default driver upon reboot.
4. Perform Color Calibration
If the yellowish tint persists, color calibration tools can help fine-tune your display settings. Both Windows and macOS have built-in calibration utilities:
- Windows: Type Color Calibration in the search bar and follow the wizard.
- macOS: Go to System Preferences > Displays > Color > Calibrate.
Through these utilities, you can manually adjust gamma, brightness, contrast, and color balance until the display appears natural.
5. Check for Hardware Issues
If none of the software-based solutions resolve the issue, the problem might lie within the hardware. Here are a few possibilities:
- Loose or faulty cables: A partially connected HDMI, DisplayPort, or VGA cable can distort color output. Ensure all cables are firmly connected.
- Defective monitor panel: If the monitor is old or damaged, it may need professional repair or replacement.
- Test with another display: Connect your PC to a different monitor. If the second screen looks normal, your original monitor is likely the source of the problem.
6. Disable Color Filters in Accessibility Settings
Some users inadvertently enable Color Filters, an accessibility feature designed to help those with color blindness.
- Windows: Go to Settings > Ease of Access > Color Filters and ensure it’s off.
- macOS: Head to System Preferences > Accessibility > Display and disable any filters affecting color.
7. Perform BIOS/UEFI Reset (Advanced)
If the issue persists despite all efforts and you suspect a deep system-level error, performing a BIOS/UEFI reset might help. This process resets all hardware settings to their default state, which could resolve color output inconsistencies related to system firmware.
Warning: Resetting BIOS/UEFI is an advanced procedure. Incorrect settings can negatively affect your system’s stability. Always consult your motherboard manual or a professional technician before proceeding.
Conclusion
A yellowish screen can be both annoying and detrimental to work that depends heavily on color accuracy. By following the steps outlined above — from checking simple display settings to considering more complex hardware diagnostics — you can methodically identify and fix the root cause. If all else fails, professional diagnosis or monitor replacement might be necessary.
Keeping your system and drivers up-to-date and maintaining proper hardware connections are essential practices to prevent such issues from arising in the future.