How to connect iPhone to Apple devices app on Windows?
You love your iPhone. You also have a Windows PC. But how do you get them to talk to each other? Don’t worry! Apple has made it easier with the Apple Devices app for Windows. Let’s walk through how to connect your iPhone to this app—step by step.
Why Use the Apple Devices App?
Table of Contents
Think of this app as a magic bridge. It lets your iPhone sync, back up, and update using your Windows computer. Perfect if you’re not a Mac user, but still want that Apple magic.

What You’ll Need
Before we get started, grab the following:
- An iPhone running iOS 15 or later
- A Windows 10 or 11 PC
- Apple Devices app (downloaded from Microsoft Store)
- An Apple ID
- A good quality Lightning to USB cable
Got all that? Great! Let’s get started.
Step 1: Download the Apple Devices App
First, head over to the Microsoft Store on your Windows PC. In the search bar, type in Apple Devices. Click on it, and then hit the Get button to download and install the app.
It’s free and takes only a minute or two.
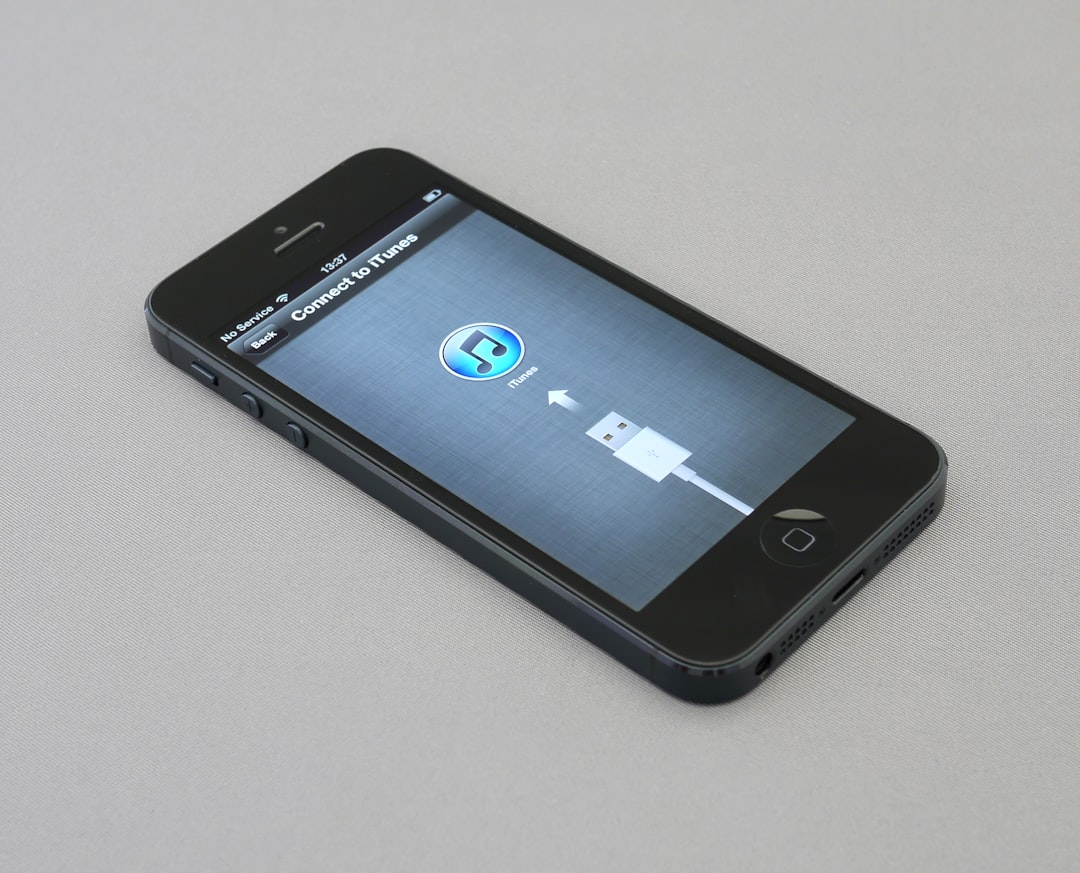
Step 2: Connect Your iPhone
Now plug in your iPhone using a Lightning to USB cable. You should hear that familiar chime—yep, they’re meeting for the first time!
Your iPhone might ask, “Trust this computer?” Tap Trust and enter your phone’s passcode.
This gives permission to your PC to communicate with your iPhone.
Step 3: Launch the Apple Devices App
Open the Apple Devices app on your computer. Your iPhone should now appear in the window with its name and basic info.
Now you’re connected! 🎉
What Can You Do With the App?
The Apple Devices app lets you do several cool things. Here are some of the highlights:
- Back Up – Save your iPhone data to your PC.
- Update – Install the latest iOS updates.
- Sync – Transfer music, photos, and videos (if supported).
- Restore – Reset your iPhone and load earlier backups.
It’s basically your iPhone’s control room. All from your Windows PC.
Cool Tip: Use Wi-Fi Sync
No more cords? Yes, please!
Once your iPhone is connected via USB, go to the Options section in the Apple Devices app and check Sync with this iPhone over Wi-Fi.
Now you can back up or sync without plugging in every time. Just make sure both devices are on the same Wi-Fi network.
Troubleshooting Tips
Hitting a bump? Try these:
- Make sure your iPhone is unlocked when connecting.
- Use an official or high-quality Lightning cable.
- Reboot both your PC and iPhone if they don’t recognize each other.
- Update your Windows system and the Apple Devices app.
Still stuck? Visit Apple’s support page or Microsoft Store for troubleshooting help.

Final Thoughts
Connecting your iPhone to the Apple Devices app on Windows is super easy. It’s a lot like setting up new friends to start talking — just a few handshakes and a little trust.
Now you can use your iPhone and Windows together like a dream team. Back up your photos, manage updates, or just feel better knowing your stuff is safe.
Go ahead and give it a try. Your iPhone will thank you (with more storage space and up-to-date software)!
Happy syncing!