Stable Diffusion XL Generating Blurry Line Art and the Upscale + VAE Adjustment That Recovered Crisp Details
Stable Diffusion XL is one of the coolest tools out there for generating images with AI. You type in a prompt, and boom—out pops art! But sometimes, things don’t go smoothly. This is what happened when I tried to generate some clean, sharp line art. Instead of crisp lines, I got blurry soup. But all is not lost—thanks to upscaling and a little VAE magic, I managed to turn that blurry mess into beautiful, detailed art.
TL;DR
Table of Contents
Stable Diffusion XL sometimes spits out blurry line art, especially with certain settings or prompts. But don’t panic! Using upscaling and tweaking the VAE (Variational Autoencoder) settings can rescue the fine details. This trick brings sharpness and clarity back to your images. It’s easy once you know where to look and what to tweak.
What Went Wrong With the Line Art
Line art should be clean, right? Smooth lines, good contrast, no fuzziness. But when I generated line drawings with Stable Diffusion XL, my results looked more like out-of-focus doodles. It was disappointing.
Here’s what was off:
- The lines were fuzzy and unclear.
- Edges looked like they were smudged with a blur brush.
- Details disappeared at lower resolutions.
For example, when I typed the prompt: “Clean anime-style character sketch, thin black lines, white background”, the AI tried… but missed the mark. The image looked dreamy, sure, but not in a good way. Clarity was completely missing.
Why Stable Diffusion XL Blurs Line Art
This happens more often than you might expect with models like SDXL. It’s not broken—it’s just doing its best with what it’s been trained on. Stable Diffusion XL is great at painting, shading, and composing scenes. But fine line work, crisp drawings? Not always its strength.
Here’s why it blurs line art:
- It wasn’t primarily trained for sharp sketches.
- It guesses textures based on color blending, which can soften edges.
- Lower resolution outputs don’t show fine details well.
- The default VAE may make features appear smeared or washed out.
This fuzzy result may look okay with paintings or soft portraits, but for line art? Nope. Every little smudge hurts. Line art needs precision.
The Magic Fix: Upscaling + VAE Tuning
Okay, here comes the good part. After battling blurry outputs for hours (and maybe crying a bit), I found a combo that magically brought everything back into focus: Upscaling + Adjusting the VAE.
Let’s break it down.
Step 1: Upscale the Image
This means increasing the resolution. More pixels = room for more detail. I used a tool like ESRGAN 4x or the built-in upscalers in tools like Automatic1111.
- Start with your blurry line art output.
- Use an upscaler to bump it up 2x or 4x.
- This helps spread out blurry lines into sharper vectors.
Once upscaled, the AI now has more space to “re-understand” the edges. But wait, the real crispness comes in the next step.
Step 2: Tweak the VAE
The Variational Autoencoder (VAE) is responsible for encoding and decoding image details. The default VAE sometimes adds unwanted blur. But you can switch to a better one or adjust it manually.
Try this:
- Switch from the default VAE to one like vae-ft-ema-560000 (this worked great for me).
- Or, try disabling the VAE entirely just to see the raw data—it can be ugly or beautiful!
- Some tools let you boost or sharpen via VAE regeneration—worth testing!
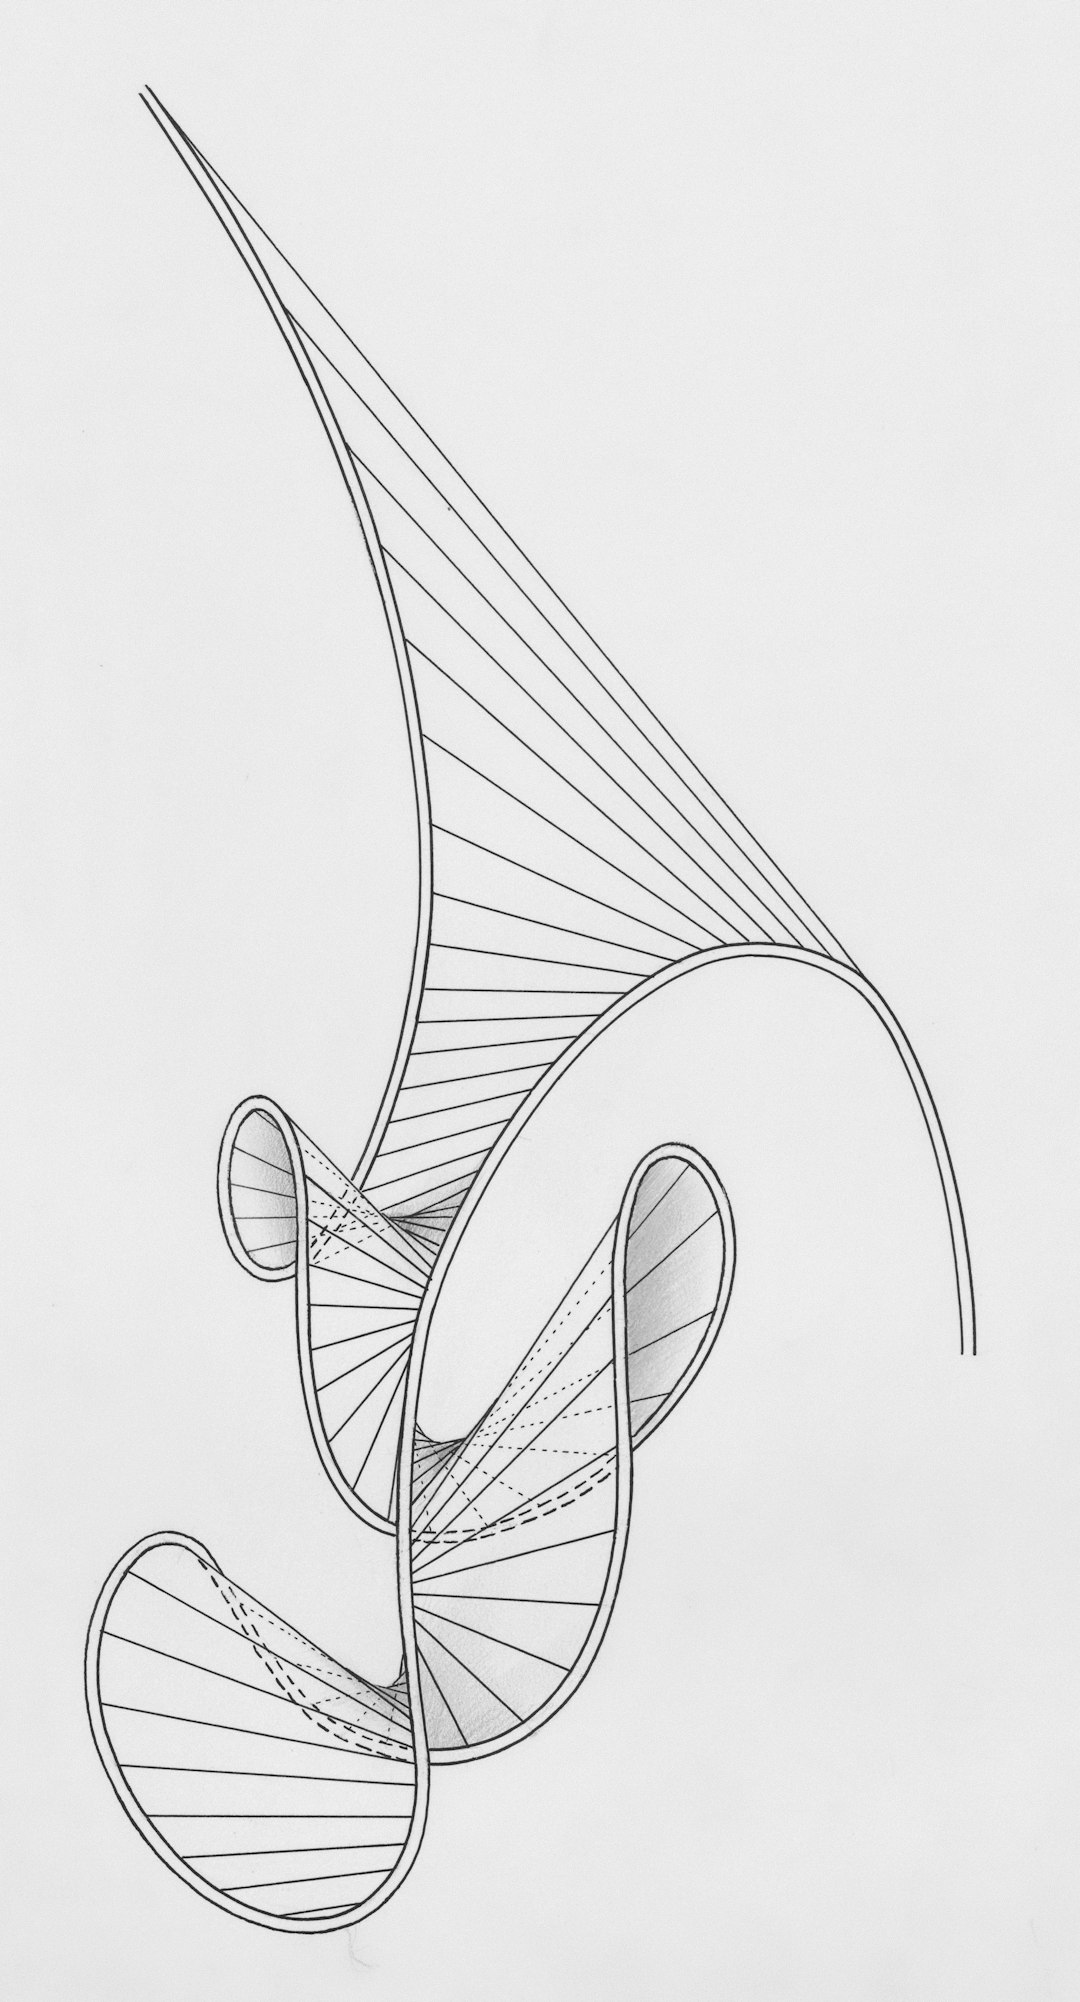
After changing the VAE and applying it to the upscaled image—pow! Suddenly, lines appeared sharper. Hair strands were distinct. Eyes popped. Even background scribbles made sense.
Side-by-Side Comparison
Seeing is believing. I tried the same prompt before and after this fix. The results were like day and night.
| Before | After |
|---|---|
| Blurry lines | Clean, sharp lines |
| Fuzzy hair detail | Individual strands visible |
| No expression clarity | Placed facial features correctly |
The image wasn’t just improved. It was transformed. And the process didn’t need a lot of artistic know-how—just a few tech steps and tools you may already be using.
Bonus Tip: Textual Inversion + Line Art Loras
Want to push things even further? Line art-focused LORAs and textual inversions can help fine-tune results. These are small model tweaks or add-ons trained to specialize, and they work wonders on sketch styles.
Look for things like:
- Anime-lineart-style LORA
- Manga-outline-tuner
- Sketch-cleaner-textual-inversion
Apply these during generation, with a high-res fix pass (that’s another mini upscale step), and then do the VAE/pixel work after. You’ll wonder why you ever settled for blurry lines.
The Takeaway
If SDXL gives you fuzzy drawings, don’t stress. This isn’t a bug—it’s a starting point. With upscaling and the right VAE filter, your art can turn crystal clear. Better yet? It’s fast, fun, and makes a big difference with minimal effort.
Final Thoughts
Working with AI art is like planting seeds. At first, the results may look messy. But with a few tweaks and a little patience, you can grow something amazing.
Stable Diffusion XL has huge potential, even for sketch lovers. So go ahead—generate, upscale, adjust that VAE, and enjoy your sharp, stunning line art. Your next great image is just a few clicks away.

