ATX 12V Power Connector: Which Plug Goes Where
Building your own PC can be exciting — like putting together your personal robot friend! But when you open that case and see all those cables… things can get a little scary. Don’t worry. We’re here to make sense of the ATX 12V power connectors and show you which plug goes where.
TL;DR
Table of Contents
The ATX 12V power connectors help bring electricity from your power supply to all your PC components. The big 24-pin powers the motherboard. Smaller 4-pin or 8-pin connectors power your CPU. Then there are SATA and PCIe connectors for drives and graphics cards. Plug each one into its matching port — they’re shaped to make mistakes hard!
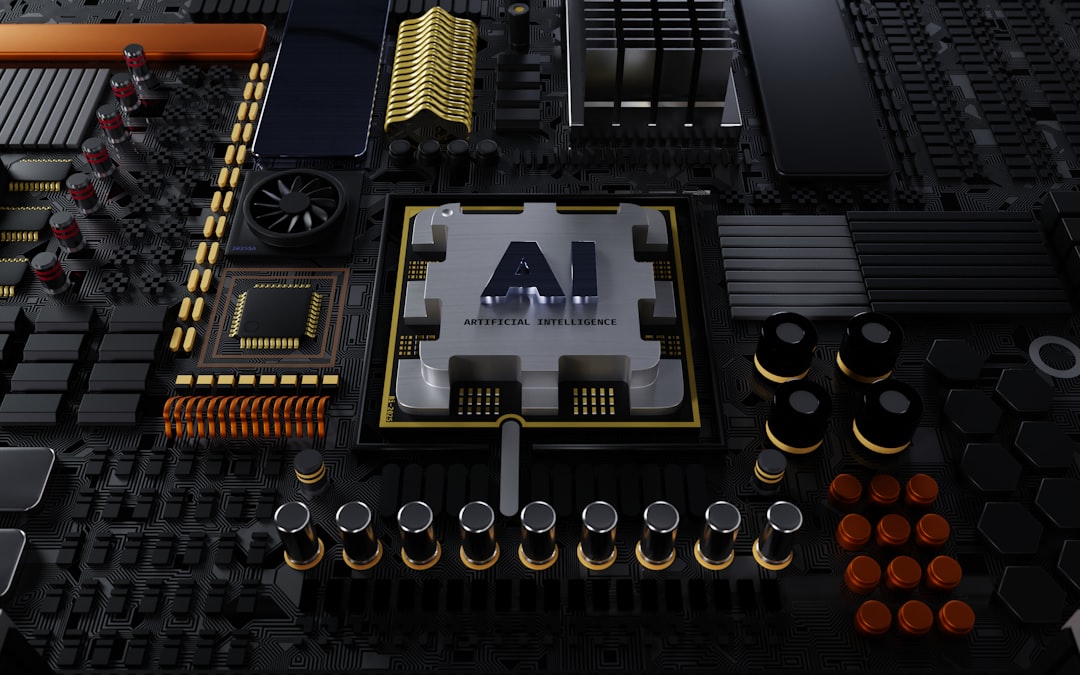
What is the ATX 12V Power Connector?
ATX 12V power connectors are like arteries carrying power inside your PC. They connect the power supply unit (PSU) to your computer parts. ATX is the standard layout for most motherboards and cases. “12V” refers to the 12 volts delivered to key components like the CPU and GPU.
There are a few different ATX connectors. Each one is designed for a specific part. You can’t mix and match. Let’s look at who plugs where.
The Main Power Connector (24-Pin)
This is the largest connector coming from your PSU. It’s sometimes called the motherboard power connector. Older systems used 20 pins, but modern boards use 24 pins.
- Where it goes: Into the matching long socket on your motherboard, usually on the right side.
- What it powers: Most of the motherboard components like chipsets, RAM slots, and PCIe slots.
This connector only fits in one way. You’ll hear a gentle click once it’s in place.
CPU Power Connector (4-Pin or 8-Pin EPS)
Your computer’s brain — the CPU — needs special juice. That’s what the CPU EPS power connector handles. It usually comes in two forms: a 4-pin or an 8-pin (which might be two 4-pins you’re meant to join).
- Where it goes: Near the top-left corner of your motherboard, close to the CPU socket.
- What it powers: Your CPU — so it can think really, really fast.
Gaming or workstation builds sometimes require more power, so they use an 8-pin or even an 8 + 4 combo.
Tip: This connector might be a little tricky to reach if your case is tight, so plan your cable routing early.
PCIe Power Connectors (6-Pin or 8-Pin)
If you’re installing a dedicated graphics card, you’ll need PCIe power connectors. These come in 6-pin and 8-pin formats.
- Where it goes: Into your graphics card
- What it powers: The GPU (graphics processing unit). Needed for gaming, rendering, or anything visual-heavy.
Basic graphics cards might not need extra power, but big beefy ones — like an RTX 3080 — will definitely need it. Some cards even require two or three PCIe connectors!
Your PSU might have connectors labeled “PCIe,” or just say “6+2,” meaning you can pop off the extra 2 pins if needed.
SATA Power Connectors
These are flat, thin connectors that go into your drives — both SSDs and HDDs. They’re easy to recognize: long and narrow with right-angled edges.
- Where it goes: Into hard drives, SSDs, DVDRW drives, and some RGB accessories.
- What it powers: Storage devices needing constant but low voltage power.
They usually come in a string of 2 or 3 from a single PSU cable, so you can daisy-chain them to multiple drives.
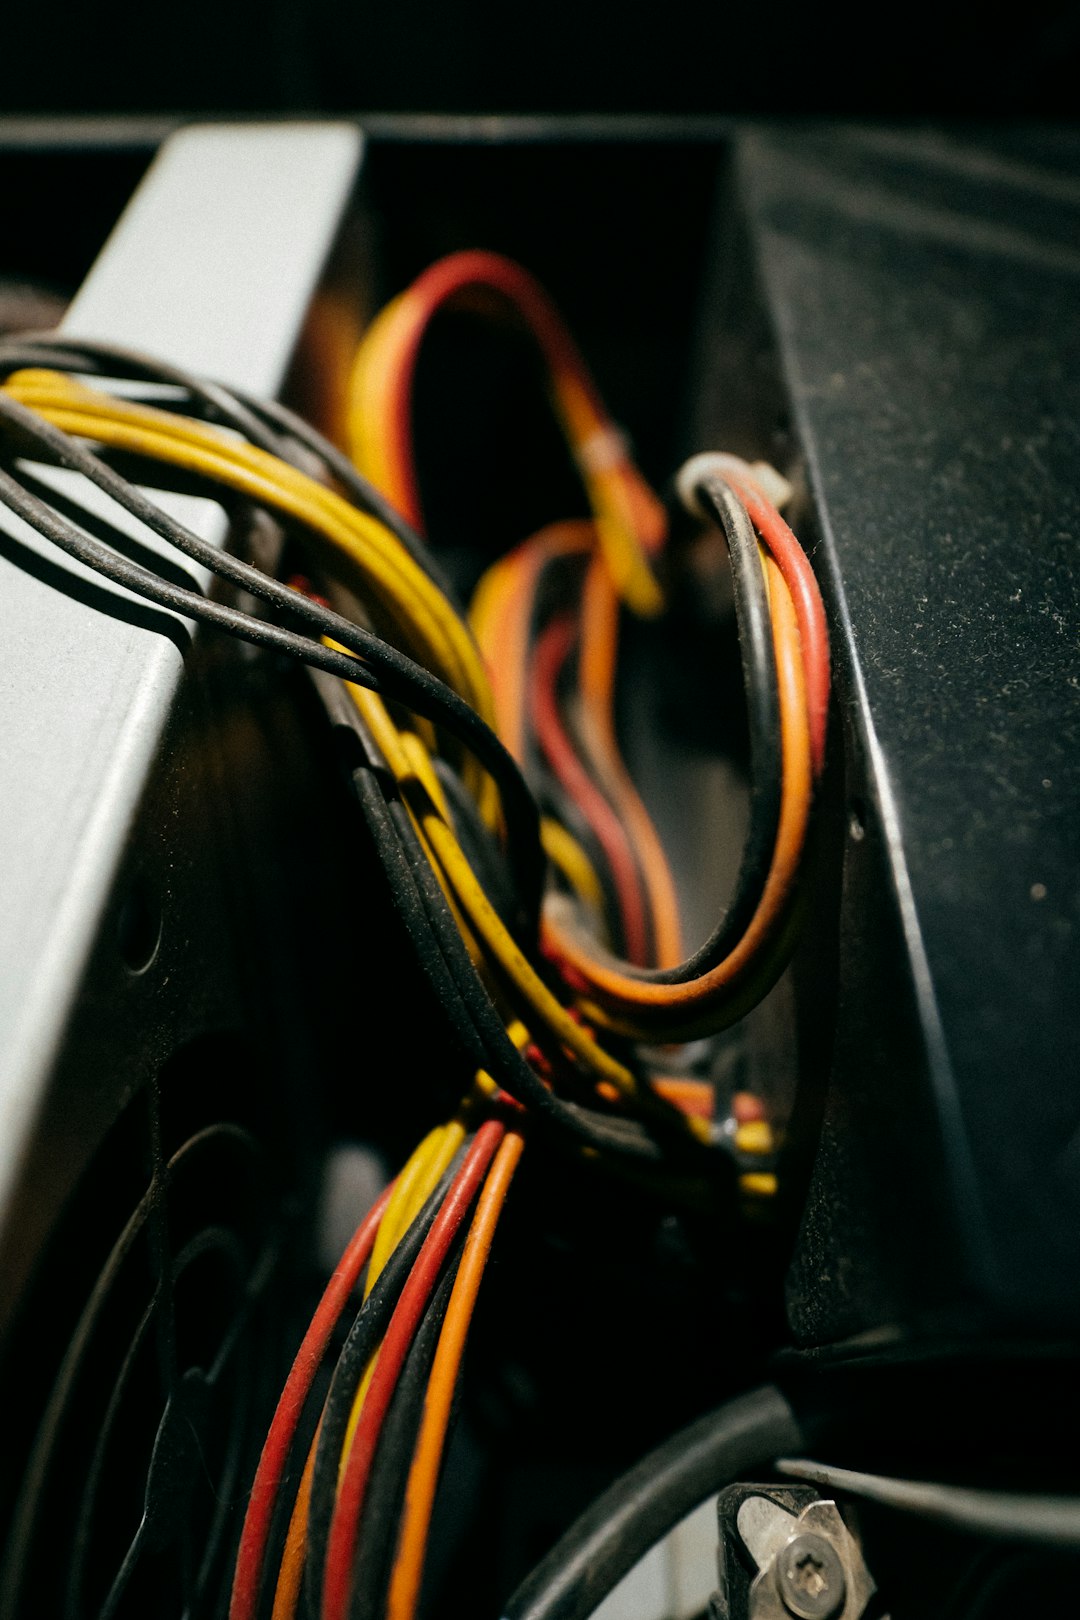
Molex Connectors (Old-School But Still Around)
Molex connectors are 4-pin rectangular plugs. You don’t see them as much these days, but some fans or pumps still use them.
- Where it goes: Into older fans, LED controllers, or certain older drives.
- What it powers: Low-tech accessories that didn’t adopt SATA power.
These can be a bit hard to plug in — they take some grunt. Push carefully to avoid bending pins.
Modular vs. Non-Modular Cables
Some PSUs are modular. That means you plug only the cables you need into the power supply itself. Others are non-modular and have all the cables attached permanently. There’s also a middle ground, called semi-modular, where only mandatory cables are fixed.
Modular designs help with cable management. Less clutter inside your case equals better airflow and easier building.
Label Check – When in Doubt, Read the Cables
The good news? Most PSU cables are labeled — especially the modular ones. Look for tags near the connector ends that say things like:
- MB – Motherboard power (24-pin)
- CPU – 4 or 8-pin EPS connector
- PCIe – For your graphics card
- SATA – Hard drives, SSDs
- P4 or P8 – CPU power
Match the label to the port and you’re good to go.
Don’t Force It!
Seriously. Power connectors are all keyed — meaning they’re shaped to fit only one way. If something doesn’t go in easily, stop and double-check. You could break both the plug and the socket if you get rough with it.
Final Cable Management Tips
- Use cable ties or Velcro straps to keep things neat.
- Route cables behind your case’s motherboard tray if possible.
- Label extra connectors for future upgrades.
- Don’t block fans — airflow is your PC’s best friend.
Recap: Which Plug Goes Where?
| Connector | Plug It Into | Powers |
|---|---|---|
| 24-pin ATX | Motherboard | Everything on the board |
| 4/8-pin EPS | Top CPU socket area | CPU |
| 6/8-pin PCIe | Graphics Card | GPU |
| SATA Power | HDD/SSD, fans, accessories | Low-power stuff |
| Molex | Legacy fans, older devices | Similar to SATA |
Conclusion
Hooking up power connectors in a new build can seem scary at first. But once you learn what each plug is for — and where it goes — it becomes pretty fun. It’s like giving life to your own digital Frankenstein (minus the lightning).
So, whether you’re gaming, streaming, or just showing off that RGB, make sure each plug goes in the right port. And remember: never force a fit.
Happy building!